In the Plan View, you can create, edit and save missions, which can be uploaded to the DeltaQuad EVO. To plan a mission the DeltaQuad EVO does not need to be connected to Auterion Mission Control.
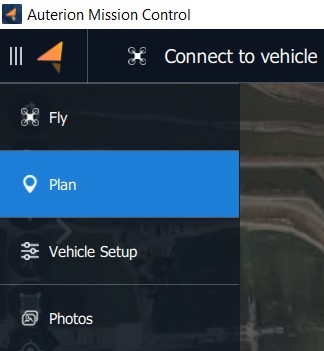
When opening Auterion Mission Control by default the Fly View will be selected. To change to the Plan View Click on the Menu icon in the upper left corner of the screen. A drop-down menu will open. Select the Plan tab.
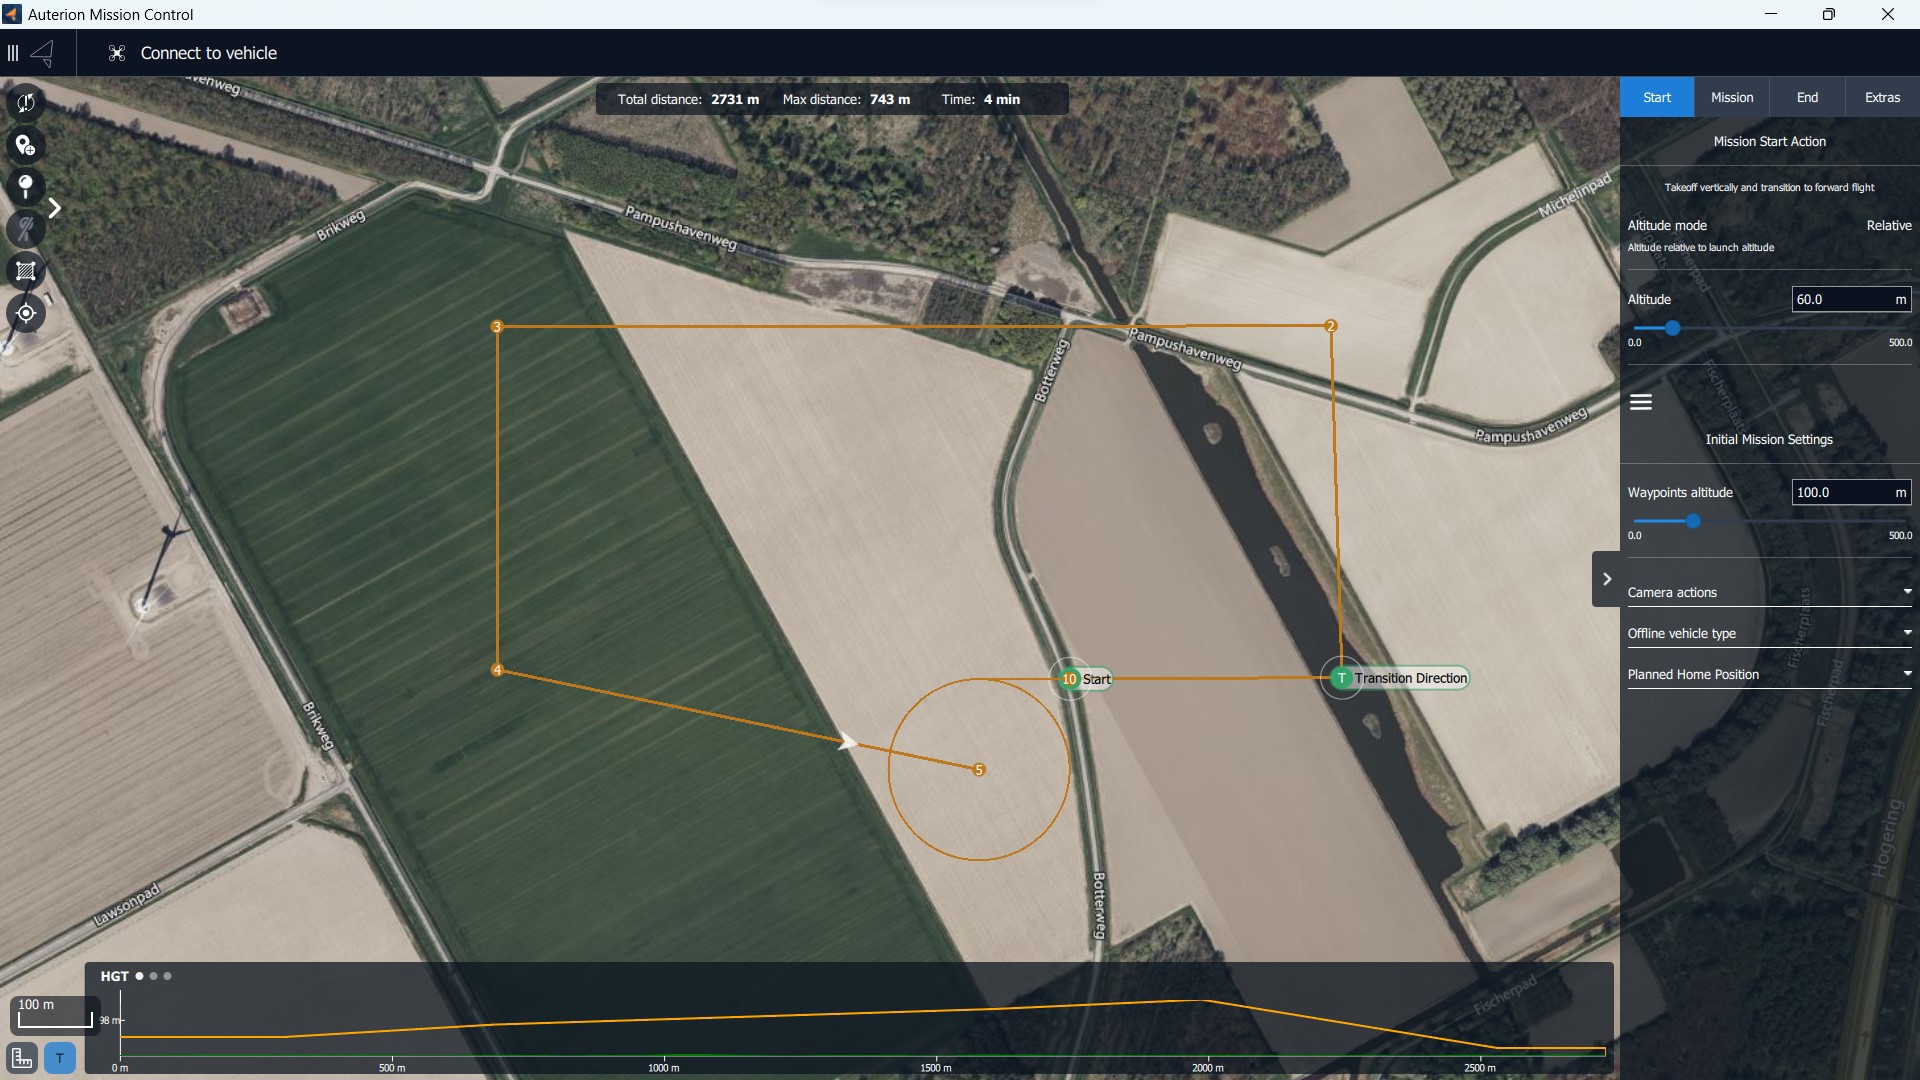
The image below shows a simple mission that starts with a Start and a Transition Direction item. The mission continues to fly through three waypoints which are followed by a Mission End Action.
The steps for creating missions are:
Change to Plan View.
Add commands to the mission and edit as needed.
Upload the mission to the vehicle.
Change to Fly View and fly your mission.
The following section describes all elements of the Plan View.
The Top menu bar consists of the same elements as the Fly View.
AMC Menu
Vehicle Status and Selector
Flight Mode
Emergency Actions and Arm Status
GPS Status
Radio Signal Strength
LTE Status and Signal Strength
Battery Status of the Vehicle
Battery Status of the Ground Control Station
Notifications Tab
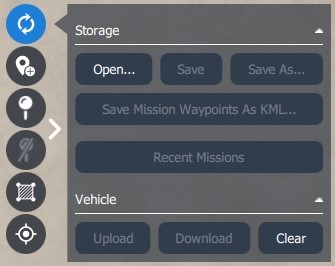
On the left side of the screen, the Plan Tools are located. The Plan Tools provide tools for working with plans, including adding waypoints, inserting survey patterns, saving, loading, uploading, and downloading plans. Some of the options are only displayed when working on a particular type of plan.
Storage
Open...
Open a plan file from storage, or clear the current mission in the Ground Control Station. The plan on the vehicle is not affected.
Save
Save previously opened or saved plans under the same name. AMC prompts to Save as if the file is new.
Save as...
Save the current plan under a new name.
Save Mission Waypoints as KML ...
Save the current mission as a KML file. KML files are used by Google Earth.
Recent Missions
Open a menu of recently created or loaded mission plans.
Upload
Upload the mission plan to the vehicle. Existing plans on the vehicle are cleared.
Download
Download the current plan from the vehicle. The current plan on the ground station is cleared.
Clear
Clear the mission plan on the vehicle and AMC. Disabled if no vehicle is connected.
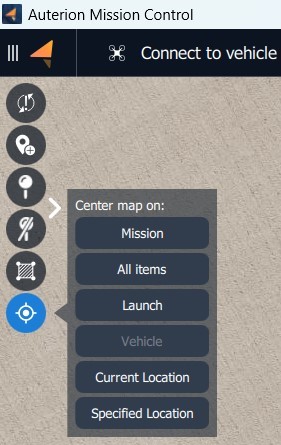
Mission
Center or zoom the map to include all mission waypoints.
All items
Center or zoom the map to include all plan items (missions, geofences, rally points)
Launch
Center the map at the point where the vehicle arms and takes off.
Vehicle
Center the map on the vehicle location. Disabled if no vehicle is connected.
Current Location
Center the map on the location of the Ground Control Station (AMC). Disabled if Ground Control Station does not have location or GPS.
Specified Location
Center the map on a specified location.
Enter geographic, UTM, or MGRS position information, to make it the new map center.
Under the top menu bar, the mission statistics are located.
The mission statistics give information about the total mission distance, the maximum telemetry distance, and the total mission time.
The Upload Button uploads the current mission, geofence, and rally points to the vehicle. The button has two states.
Upload Required
The mission plan has been changed since the last upload. A new upload is required.
Upload
The mission plan has not been changed and the vehicle has the latest version stored. It may be re-uploaded anyway.
At the top right of the screen, the Plan Item Selector is located.
The Plan Item Selector sets the part of the mission plan which is being edited.
The Plan Item Editors are displayed below the Plan Item Selector. Different item editors are displayed for each part of the mission plan:
Start: In this tab, you can edit the values of the Mission Start Action which consists of the Start or takeoff item and the Transition Direction item.
Missions: The mission tab shows a list of editors, one for each item in the mission (waypoint, commands, etc.)
End: In this tab, you can edit the values of the Mission End Action. The Mission End Action can be either a landing pattern that consists of the Orbit and the Land item or only an Orbit item.
Extras: In this tab, you can add or remove GeoFence definitions, and select the current GeoFence region for editing on the map.
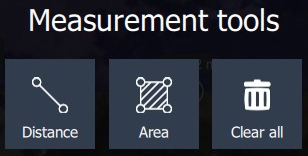
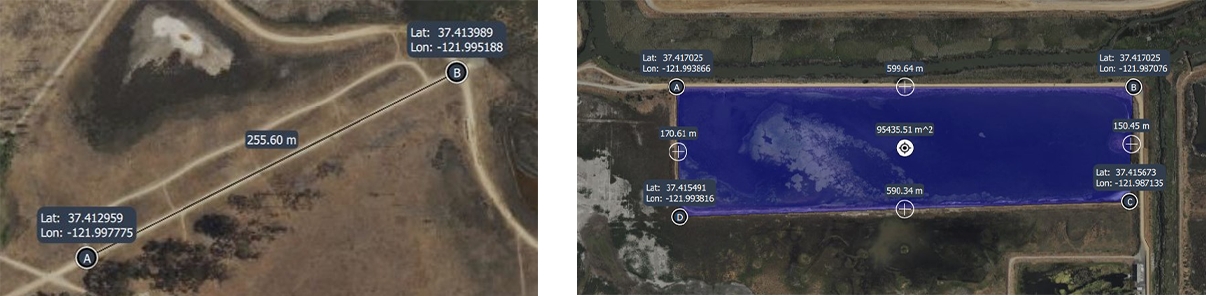
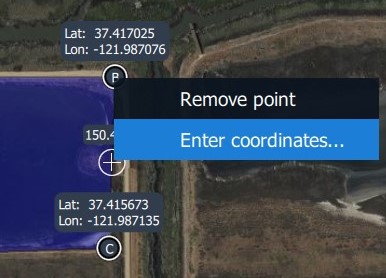
The distance between two points can be measured or the area in the form of a selectable polygon. Clear all will delete all Measurement Tools on the map.
Coordinates can be entered manually.
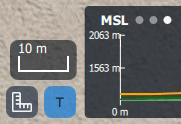
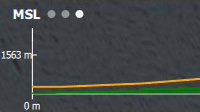
At the bottom of the screen, the Terrain Altitude Indicator is located.
A red line indicates a ground collision!
In the upper left corner of the Terrain Altitude Indicator, you can select between three different altitude measurements.
Simply tap the letters next to the three dots to change to the different altitude measurements:
HGT
Height above takeoff
MSL
Altitude above Mean Sea Level
AGL
Altitude above Ground Level
Above the Measurement Tool and the Toggle button, the Scale Marker is located.
It indicates the scale of the map depending on how much the map is zoomed in or zoomed out.
To use the zoom function the mouse wheel can be used or two fingers when operating on a touchscreen.
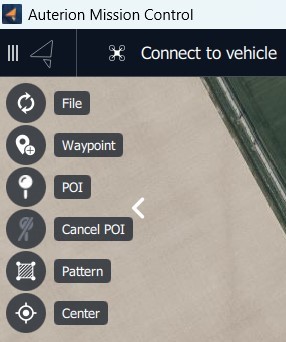
The File Tool provides options to create a new mission plan, load and save plans on the Ground Control Station, and upload, download, or clear the plan on the vehicle.
Select the Waypoint Tool to enable adding new waypoints to the map.
Select the Point Of Interest (POI) Tool to enable adding a point of interest on the map. The camera gimbal will point toward the last POI created.
Select the Cancel POI Tool to cancel the last point of interest on the map.
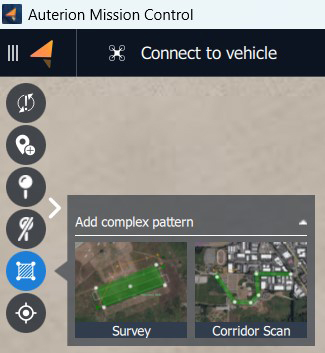
Select the Pattern Tool to add or load a survey or corridor pattern. Additionally, a KML/SHP file can be loaded.
The Center Tool gives multiple options to center the map on a mission, home, vehicle, all items, or a specified location.
In the lower-left corner, the Measurement Tool is located. When clicking on it a menu will show.
The Terrain Altitude Indicator is used to verify that the mission is set above ground level! It can be toggled visible or hidden using the button next to the Measurement Tool.