The DeltaQuad EVO uses Auterion Mission Control (AMC) as its primary Ground Control Station (GCS). The Ground Control Station consists of buttons and has been optimized for use with touchscreen devices.
If you have ordered a Ground Control Station with your DeltaQuad EVO it will have been installed and tested before it was shipped to you.
To install Auterion Mission Control on a separate device such as a laptop or desktop computer, please refer to the . After a successful installation make sure to follow the .
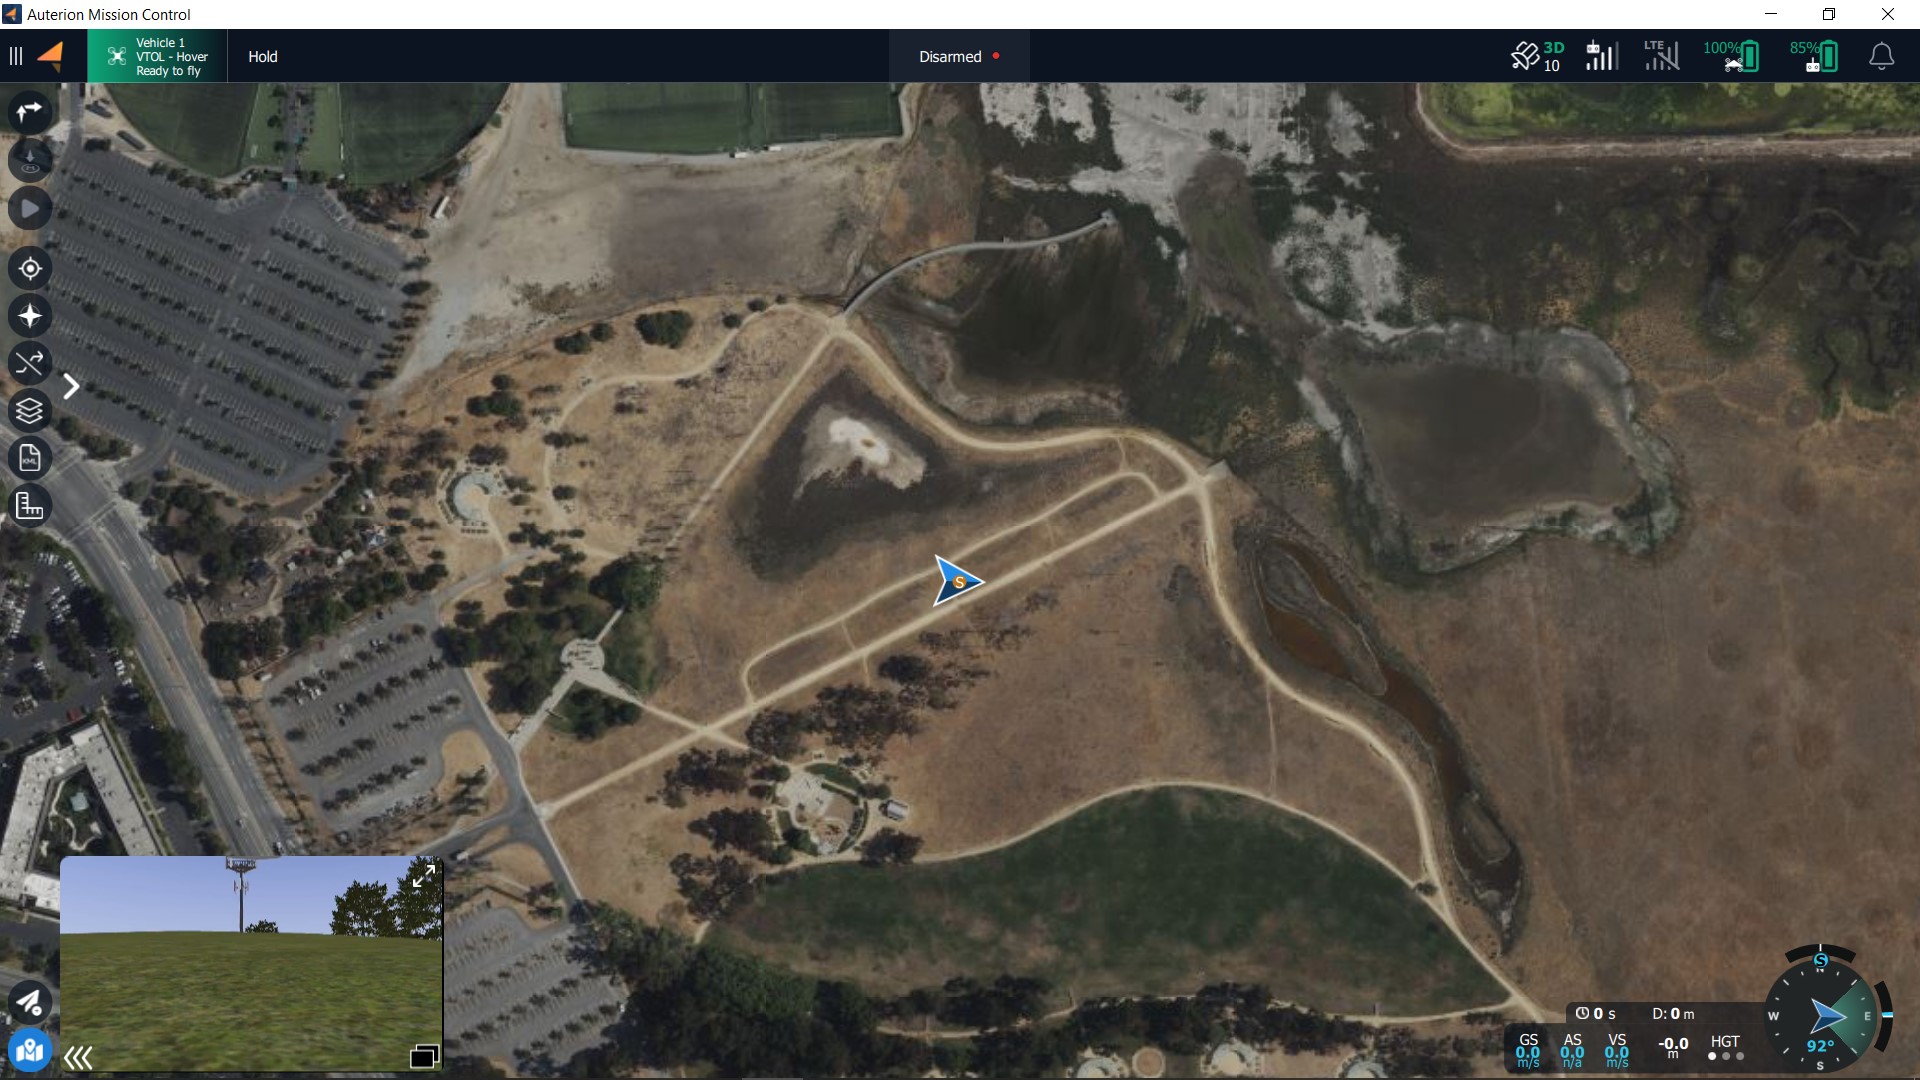
When starting Auterion Mission Control by default the Fly View will be selected.
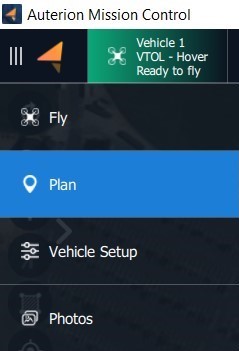
The application drop-down menu will open. The blue colored tab is the active view. To switch to the other view simply click on the respective tab.
The application menu has four more tabs to choose from.
Vehicle Setup
Vehicle configuration, including sensor calibration and safety actions.
Photos
View photos and videos downloaded from the vehicle.
User Acount
Login or logout of Auterion account. This associates pilots with flights on Auterion Suite.
Settings
Application Settings
Auterion Mission Control offers two main views. In the Fly View, you execute and monitor missions. The Plan View is used to plan autonomous missions for your vehicle. Once the mission is planned and uploaded to the DeltaQuad EVO, you switch to the to perform the and execute the mission.
You can switch between the two views by clicking on the Menu Icon .
The following two chapters will explain in detail the layout of the and the .
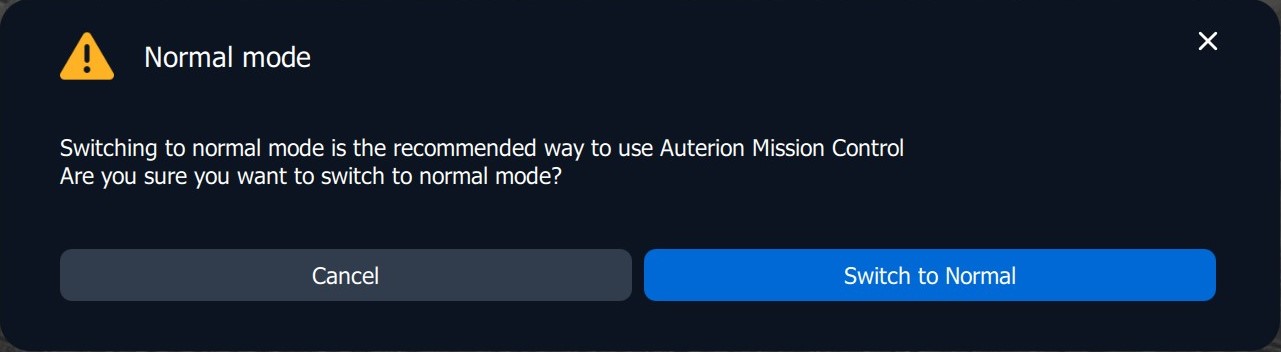
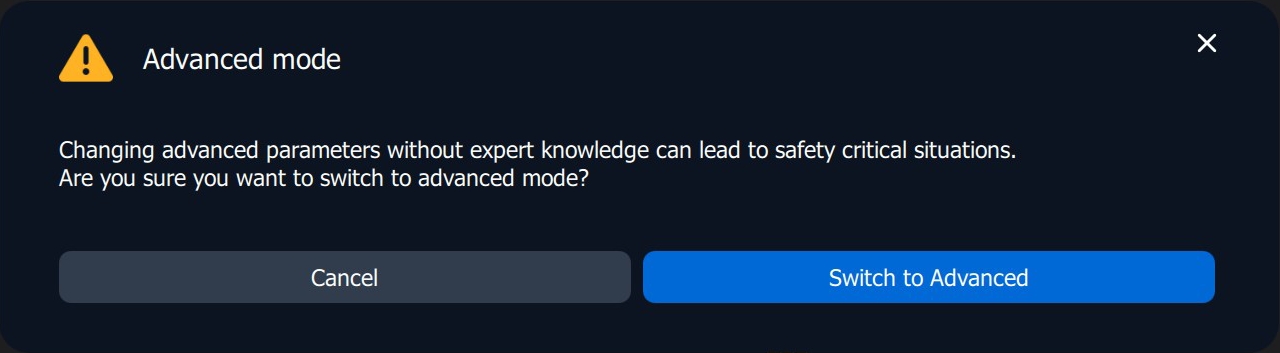
There are two modes Auterion Mission Control can run in. The Normal mode and the Advanced mode. When tapping five times on the Menu icon a pop-up window will appear with the option to switch to Advanced mode.
When the Advanced mode is enabled the Menu icon is black.
When the Normal mode is enabled the Menu icon is orange.
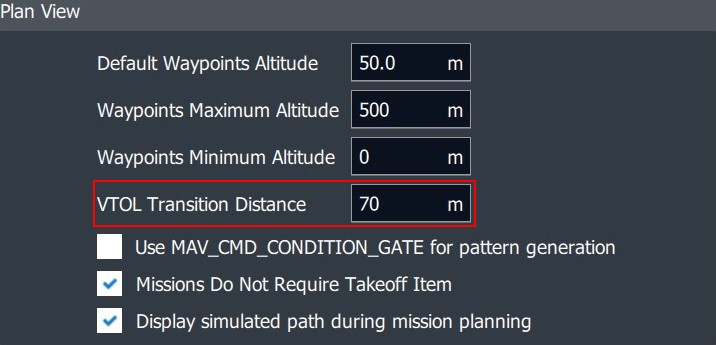
In Advanced mode, more options are available. For example, the Analyse tab in the Auterion Mission Control menu will become available, or the VTOL Transition distance can only be changed when operating in Advanced mode.
When Advanced mode is enabled tapping five times on the Menu icon will open a pop-up window with the option to switch to Normal mode.