> For the complete documentation index, see [llms.txt](https://docs.deltaquad.com/gov/llms.txt). Markdown versions of documentation pages are available by appending `.md` to page URLs; this page is available as [Markdown](https://docs.deltaquad.com/gov/setup/air-unit-radio-swap.md).
# Air Unit Radio Swap
This chapter explains how to swap the radio air units in the DeltaQuad Evo.
{% hint style="info" %}
When operating the **DeltaQuad Evo Government Edition**, it is possible to swap the air unit for an H30 radio module. The application is plug-and-play, allowing for an easy switch between radio systems with the provided Ground Control Stations.
The same is true for the DeltaQuad Evo Stealth Edition, where the H30 radio air unit can be swapped for a Silvus air unit.
{% endhint %}
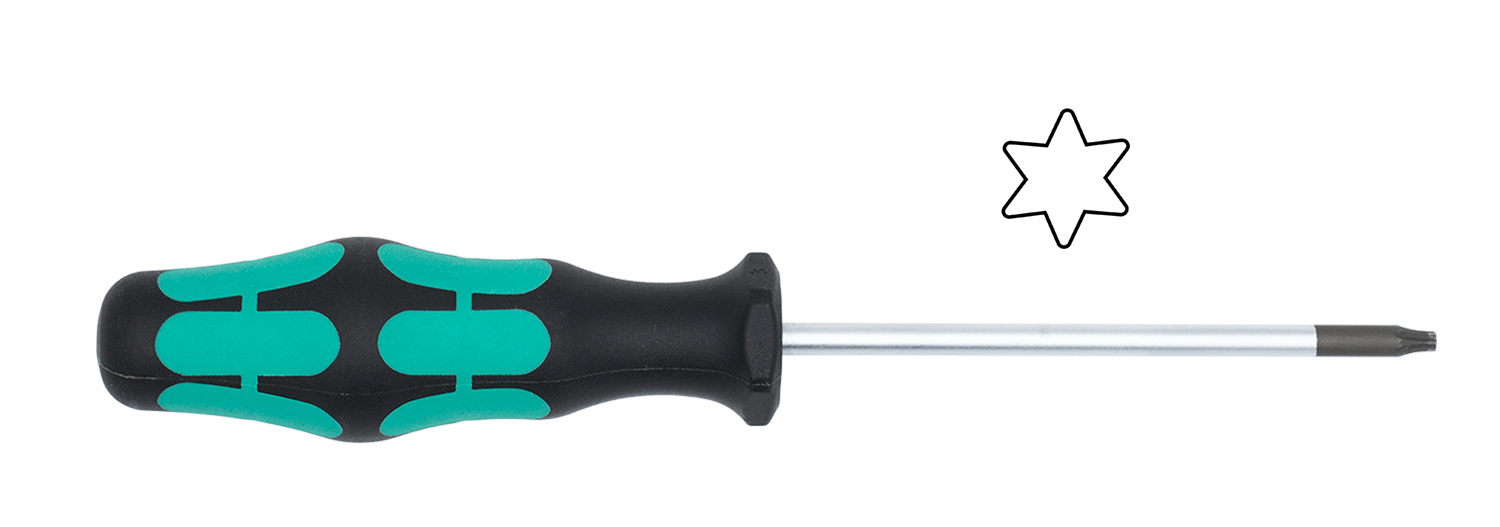
## Tools needed - Torx 10 (T10)
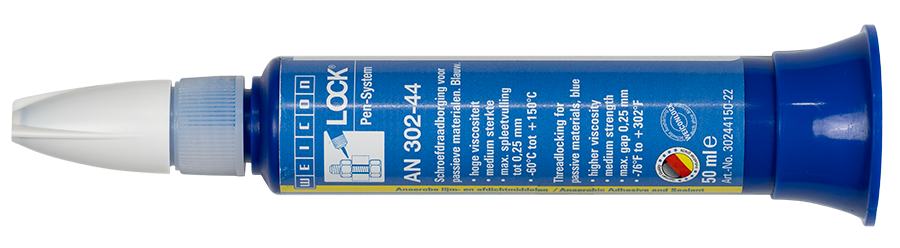
## Threadlocker (medium strength)
## Preparation
1. Find a flat surface like a table big enough to fit the DeltaQuad Evo's fuselage.
2. Take the fuselage of the DeltaQuad Evo out of the flight case.
3. Put the fuselage on its landing gear on the table.
4. Remove the hatch.
## Changing the Pusher Motor Pod
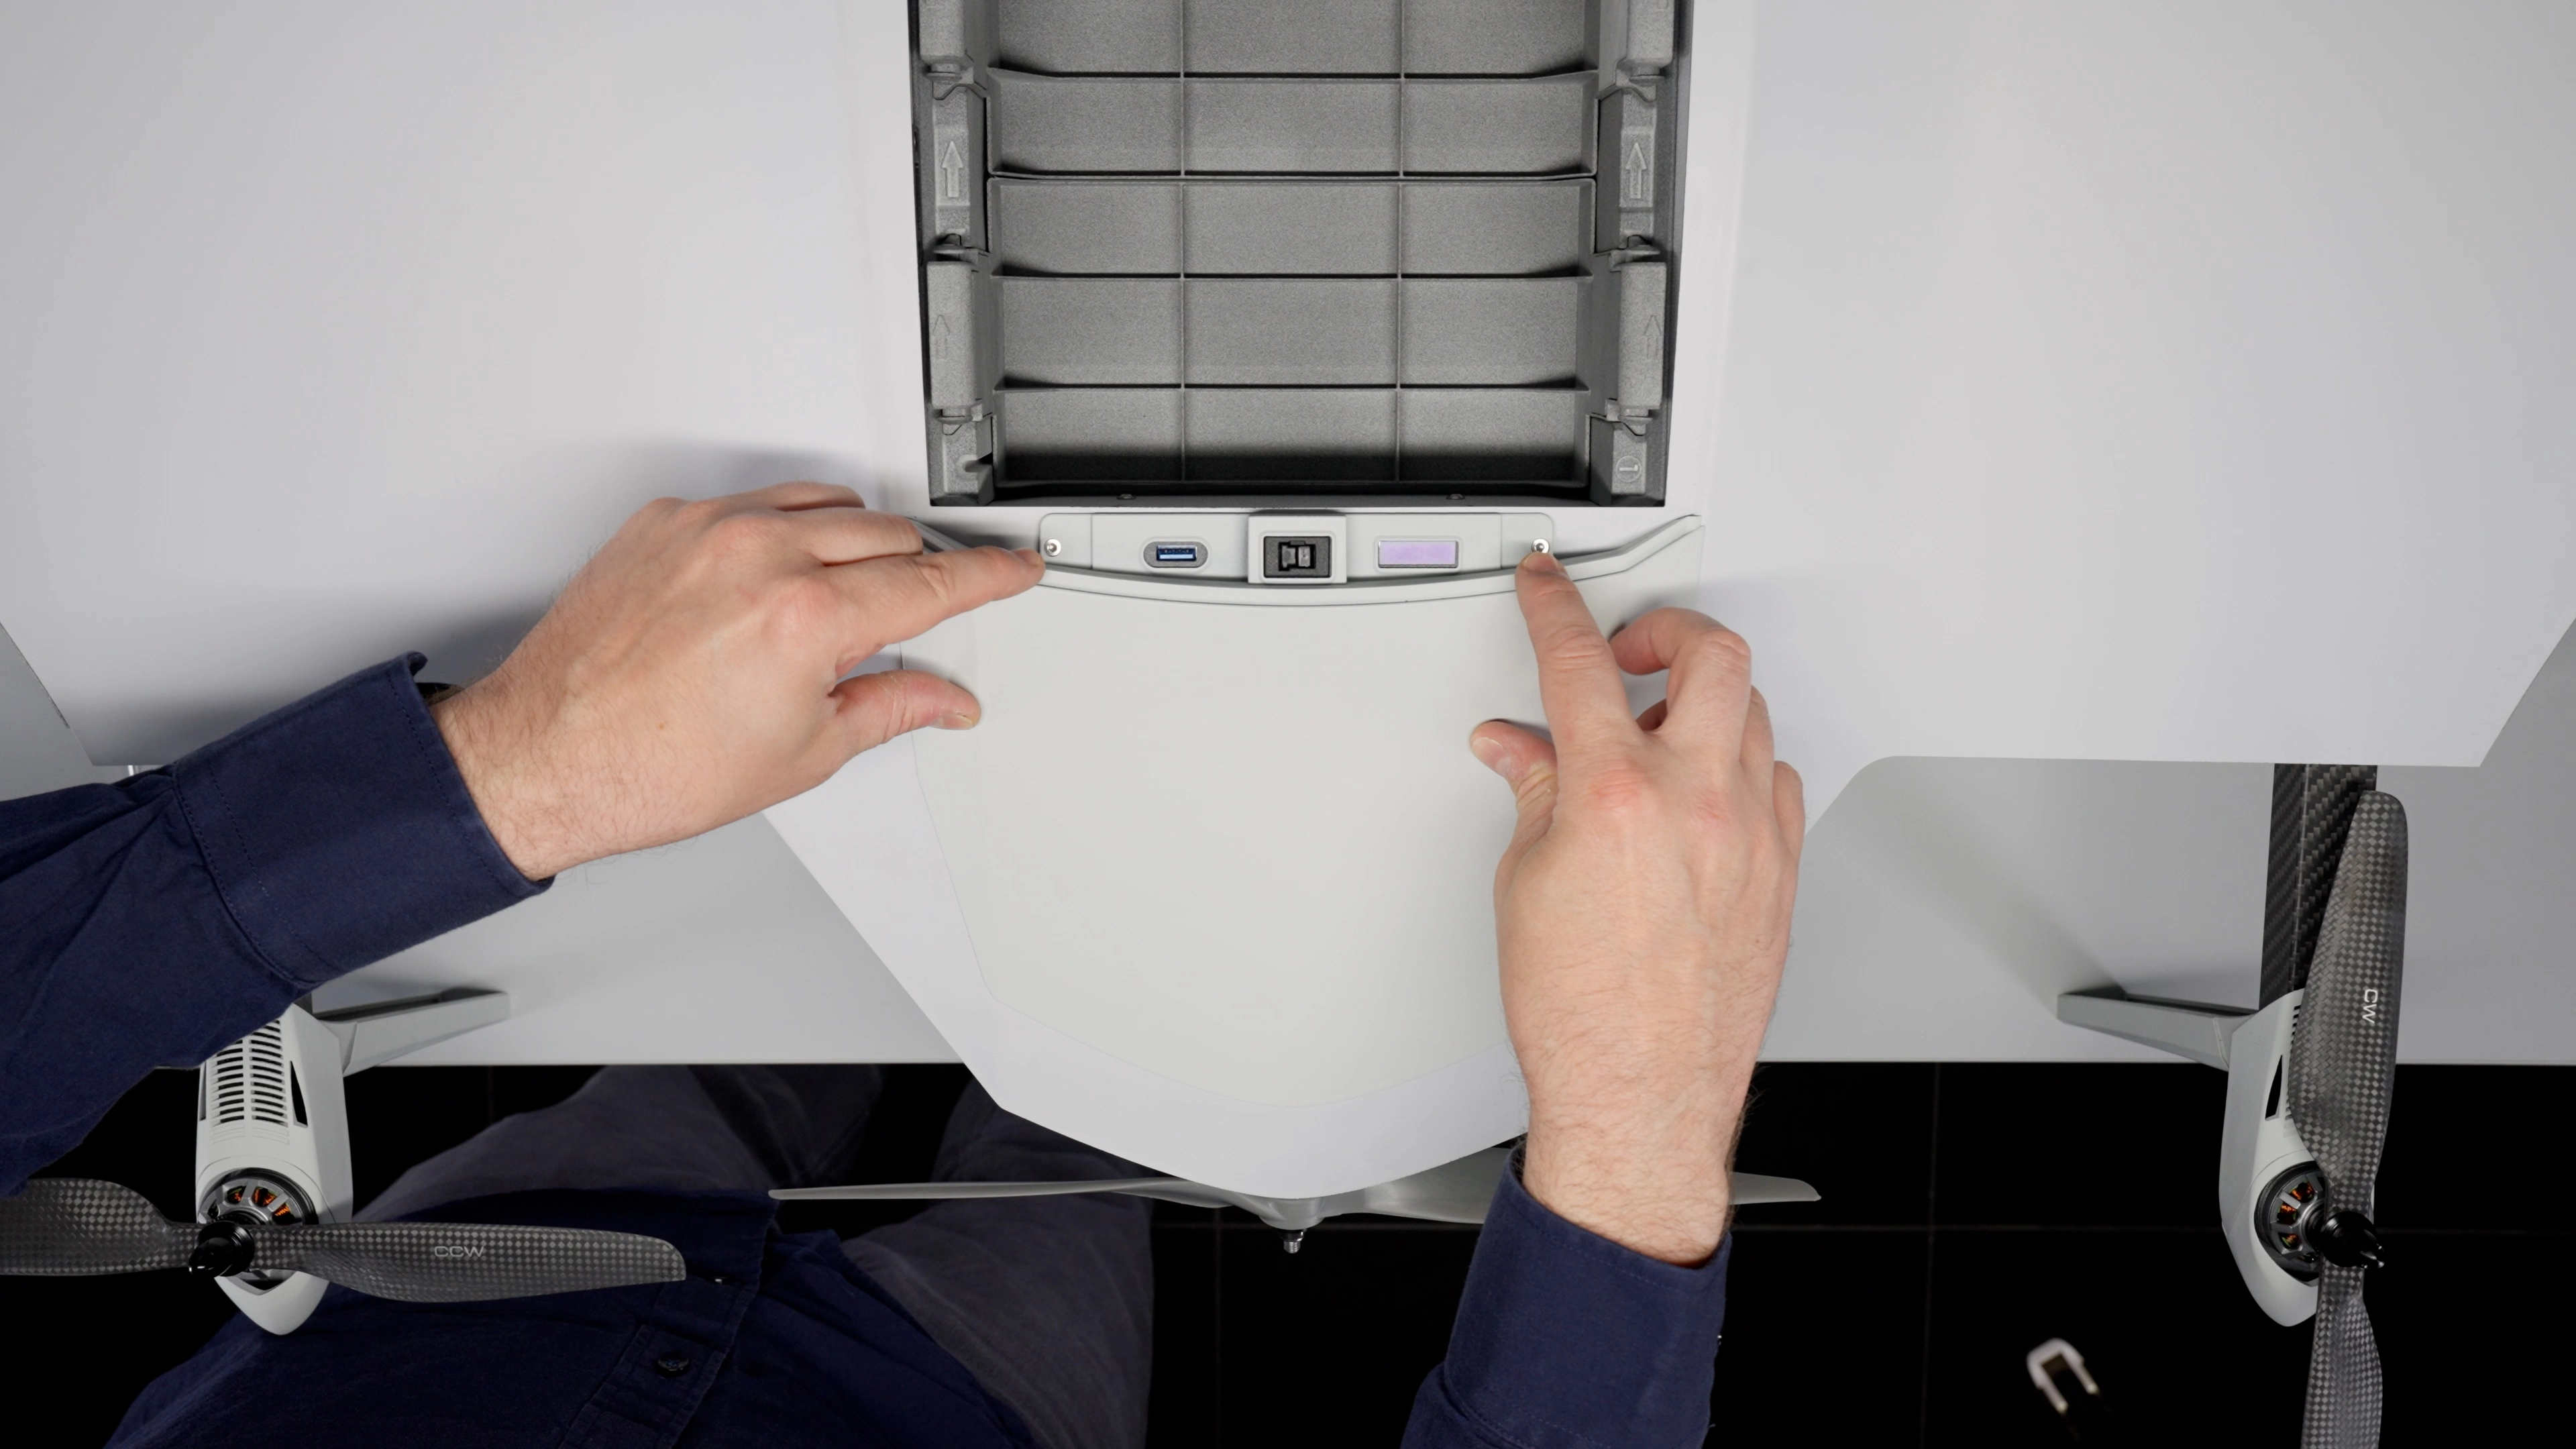
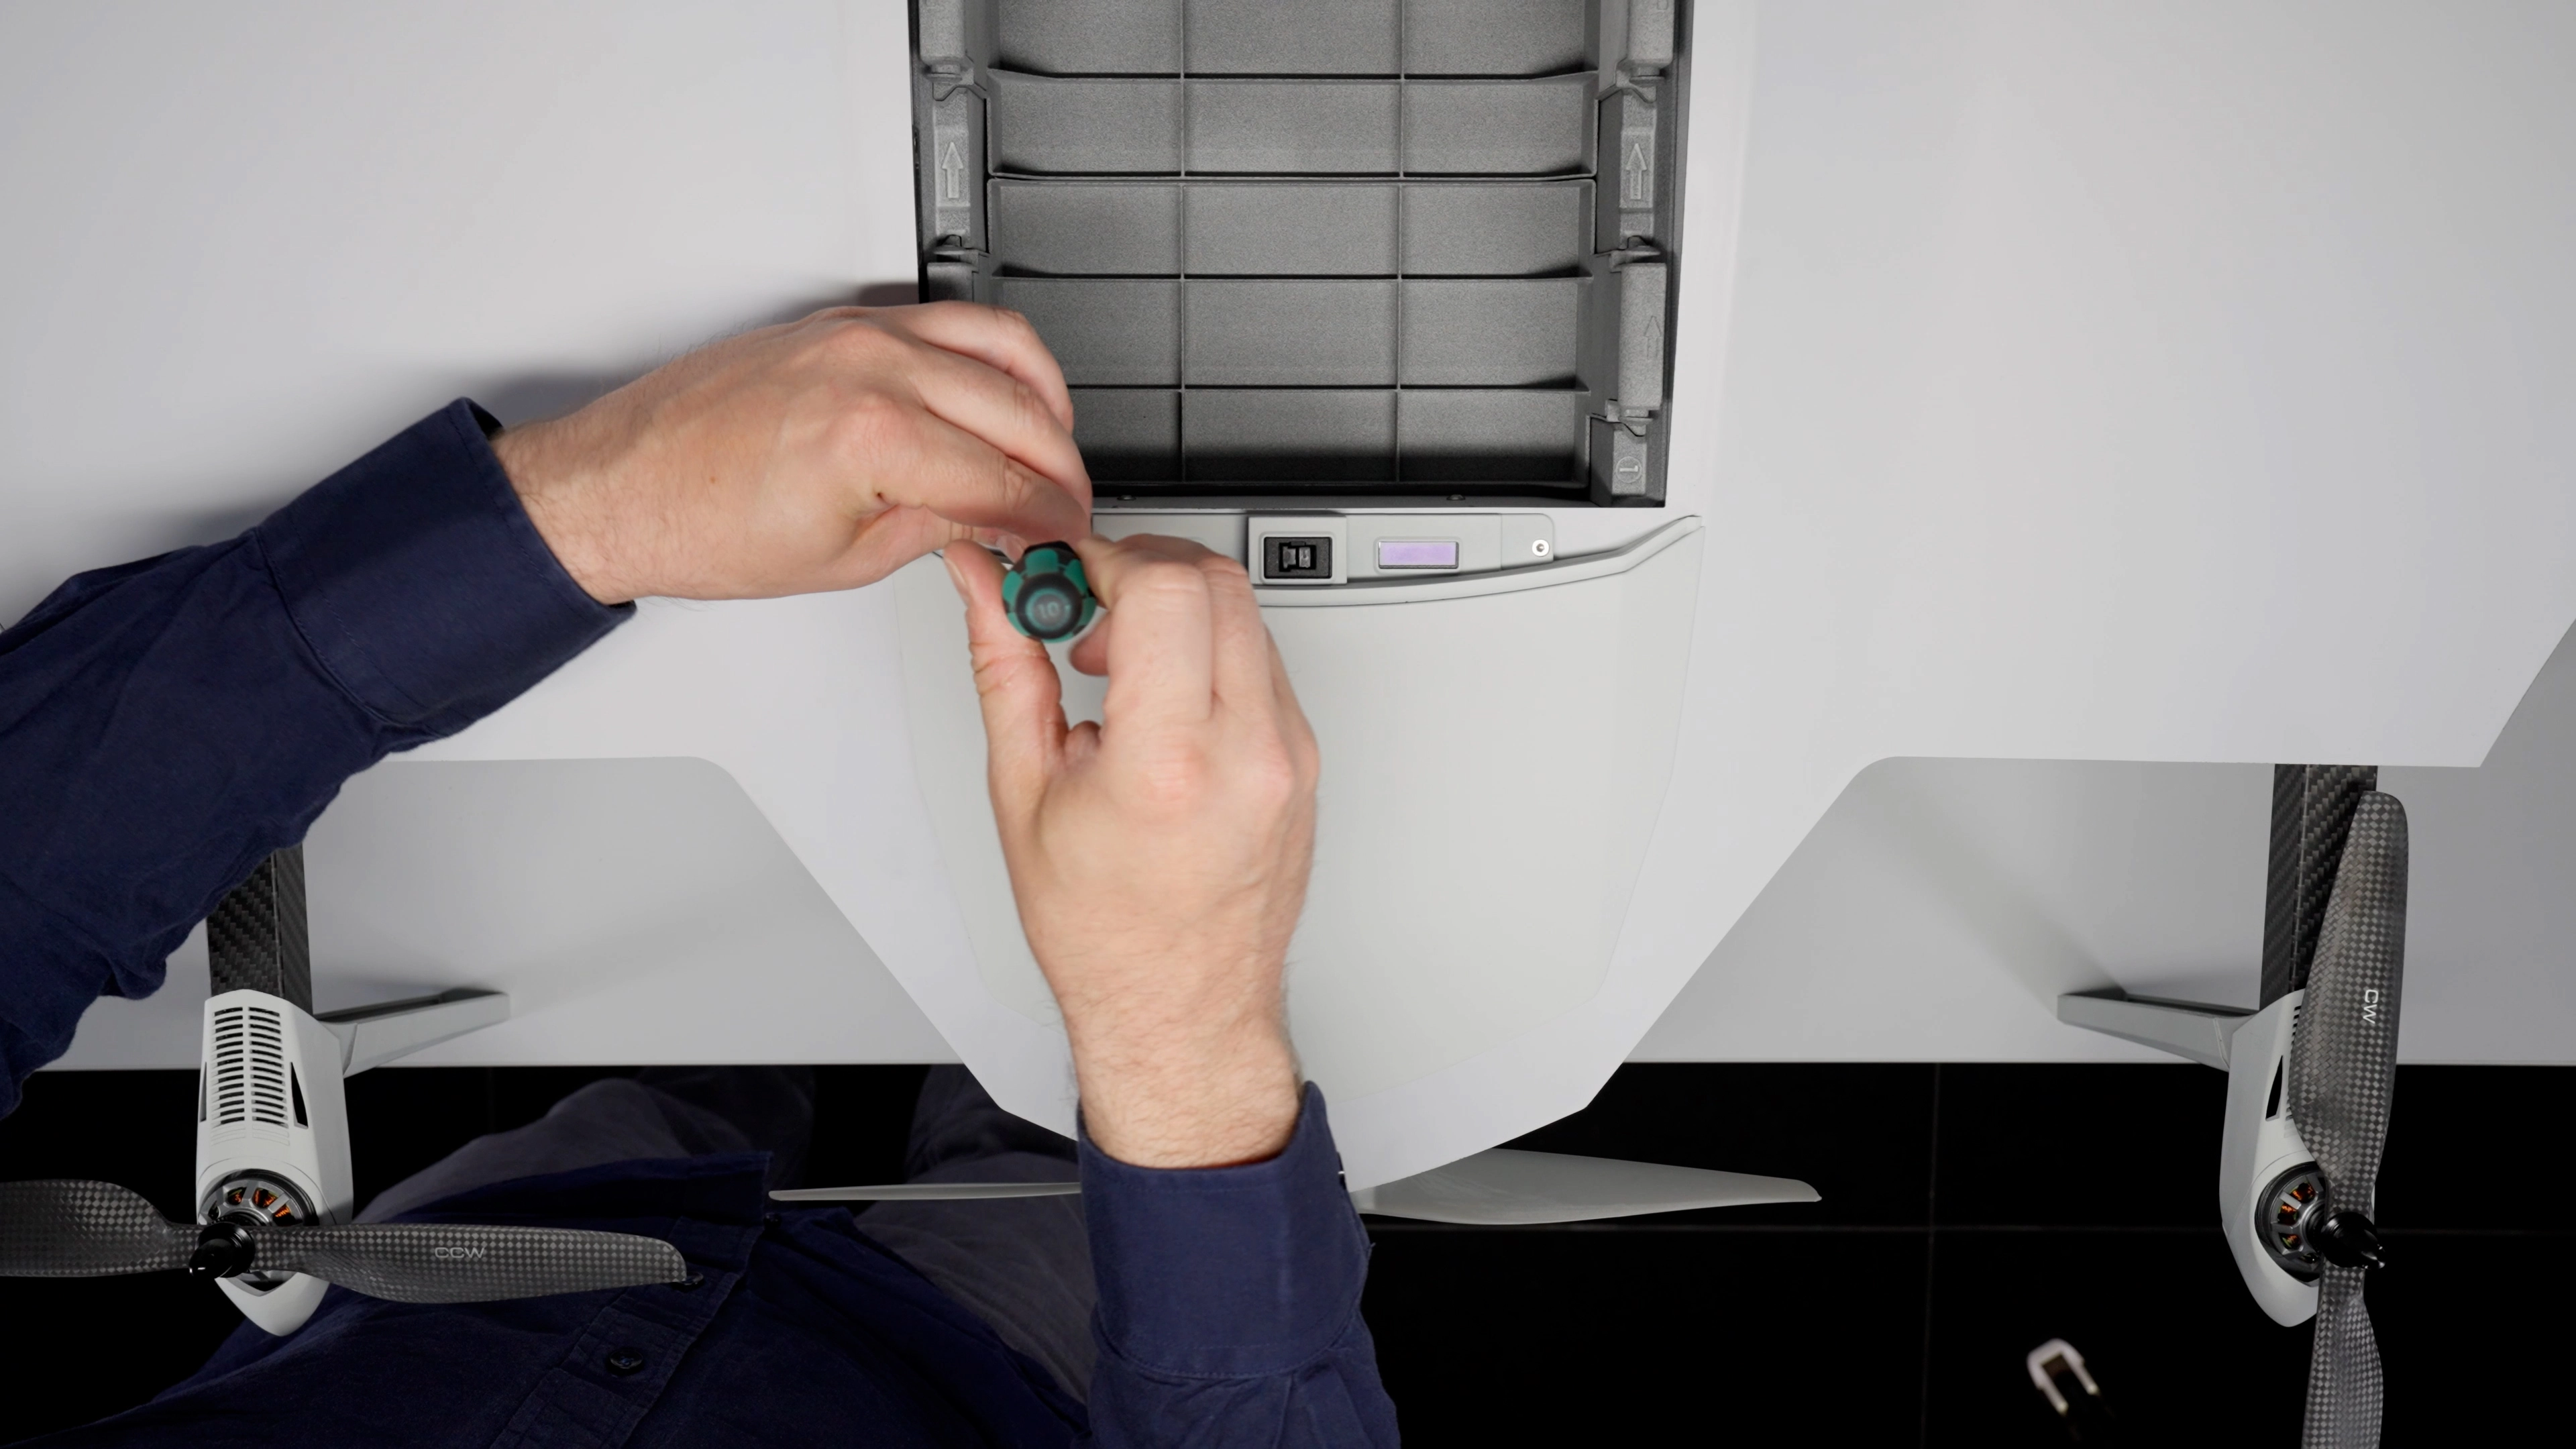
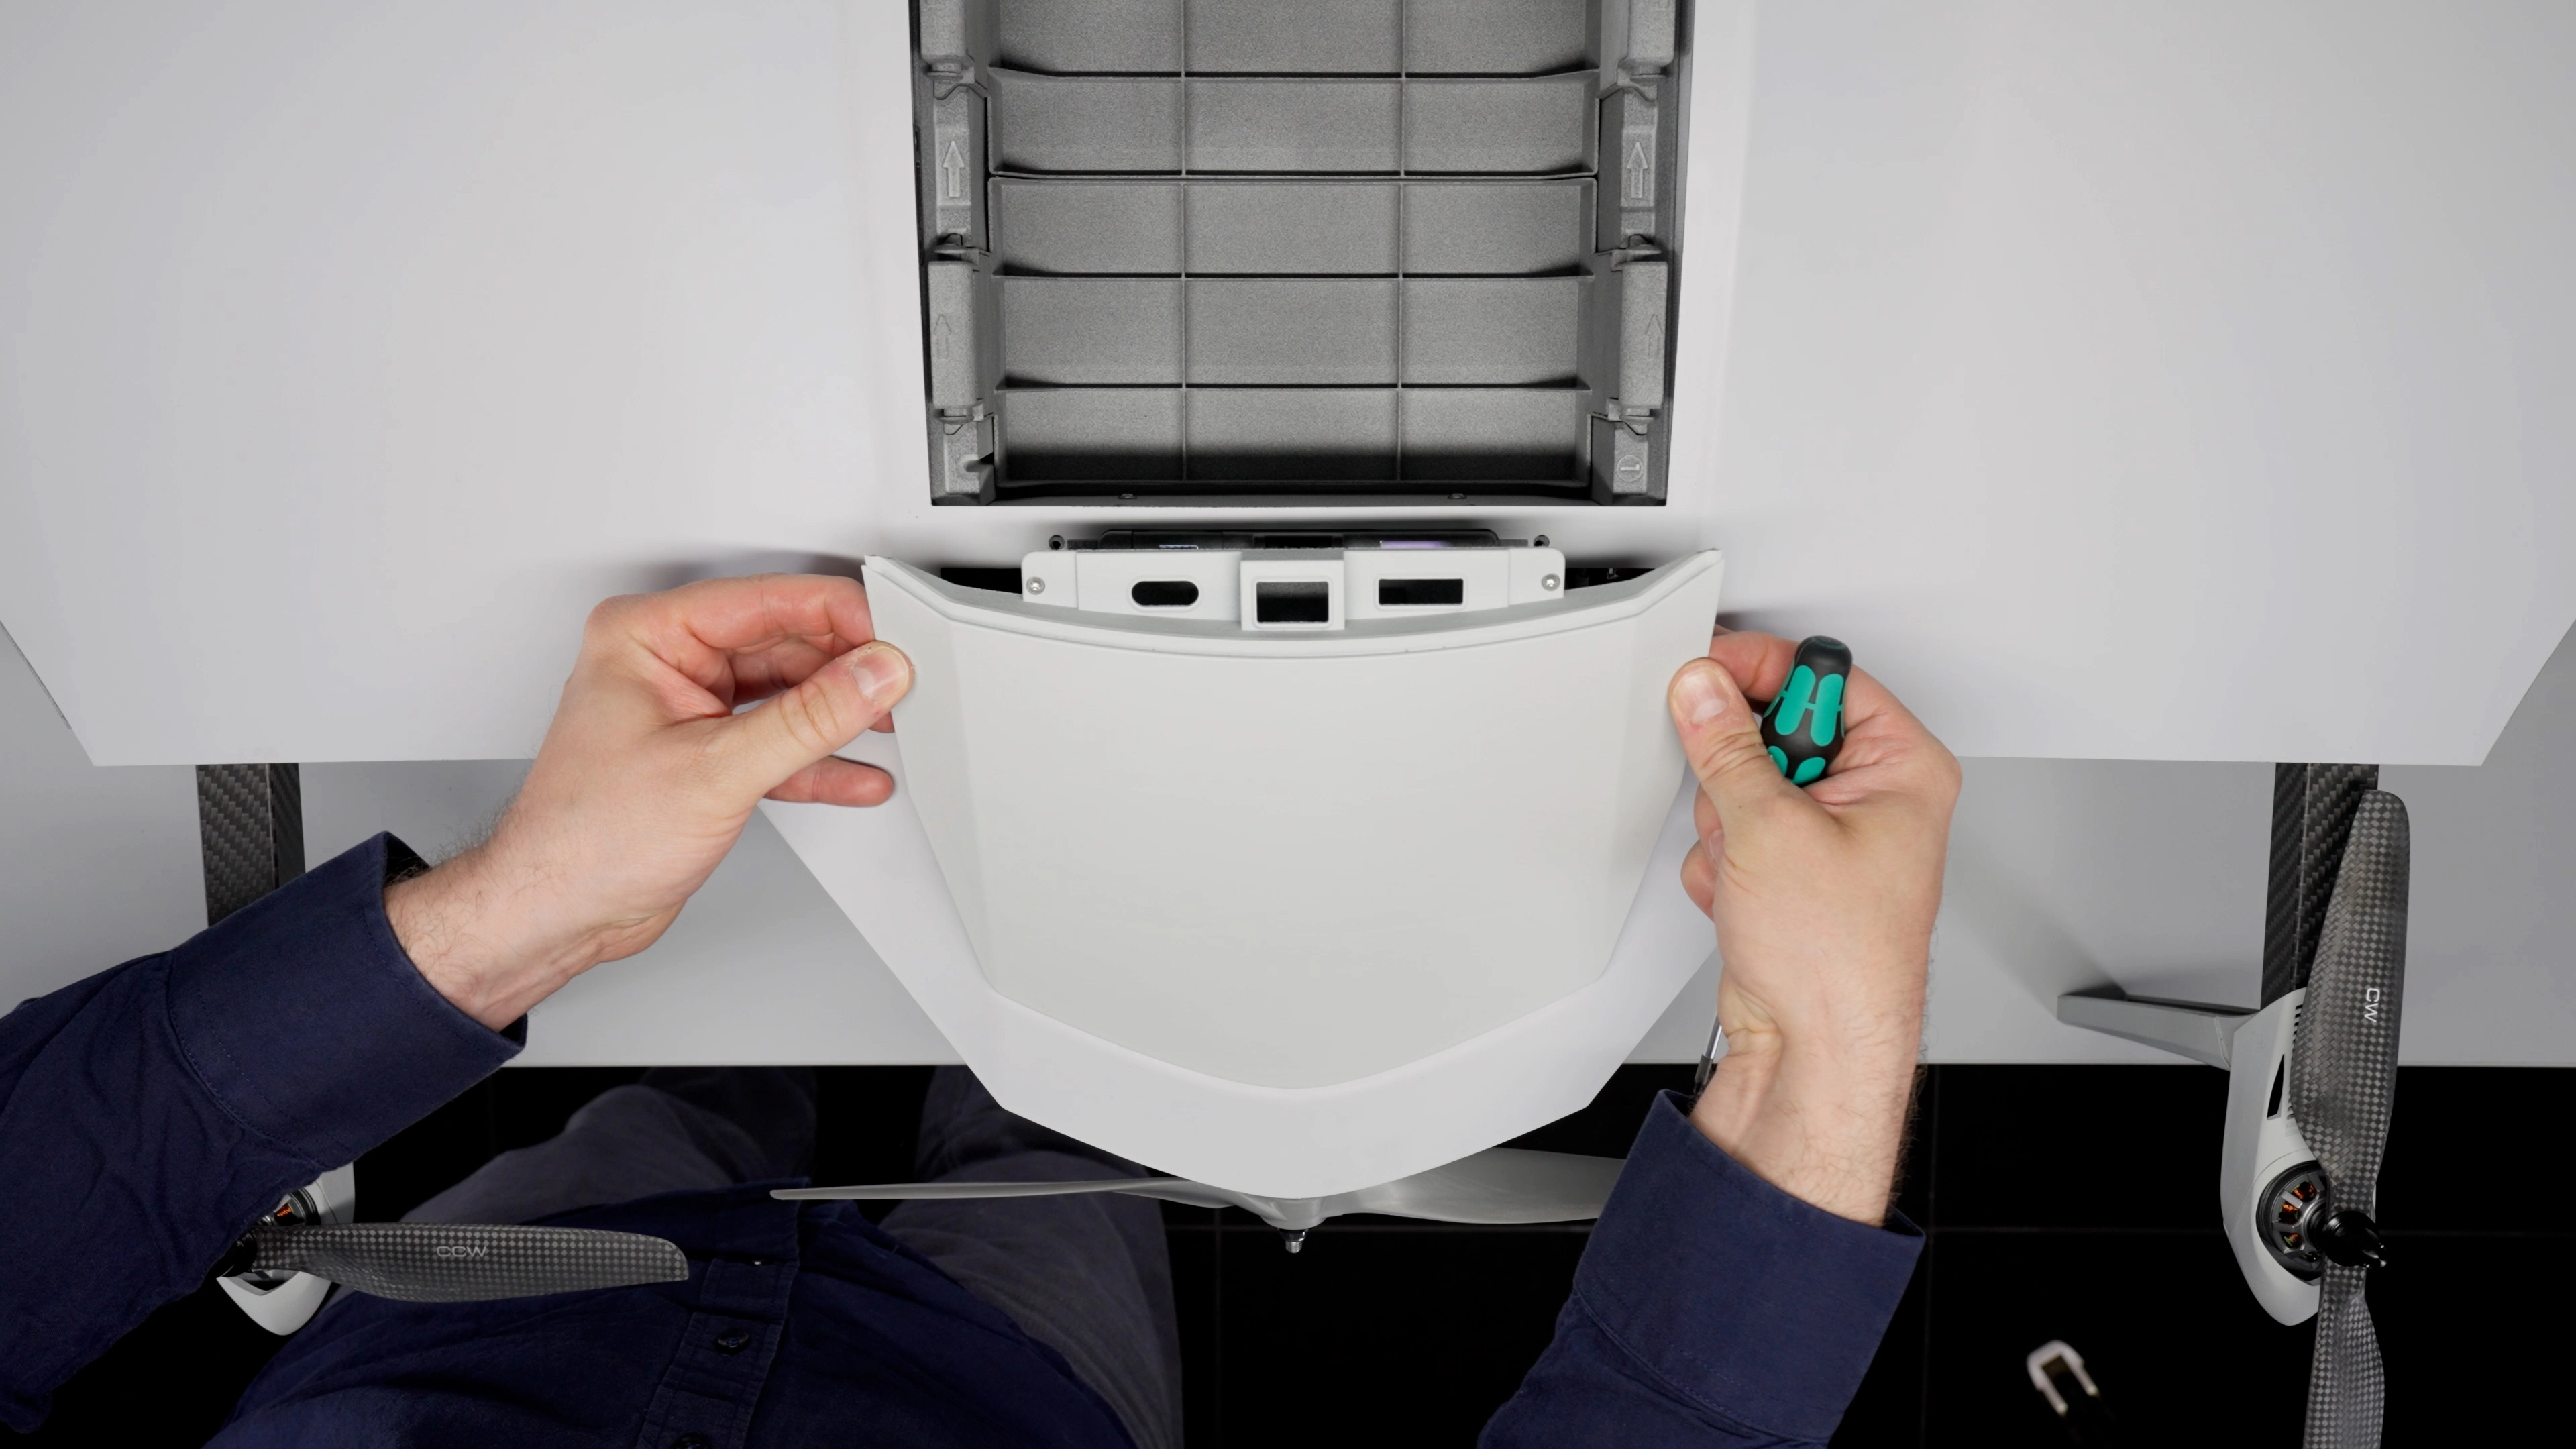
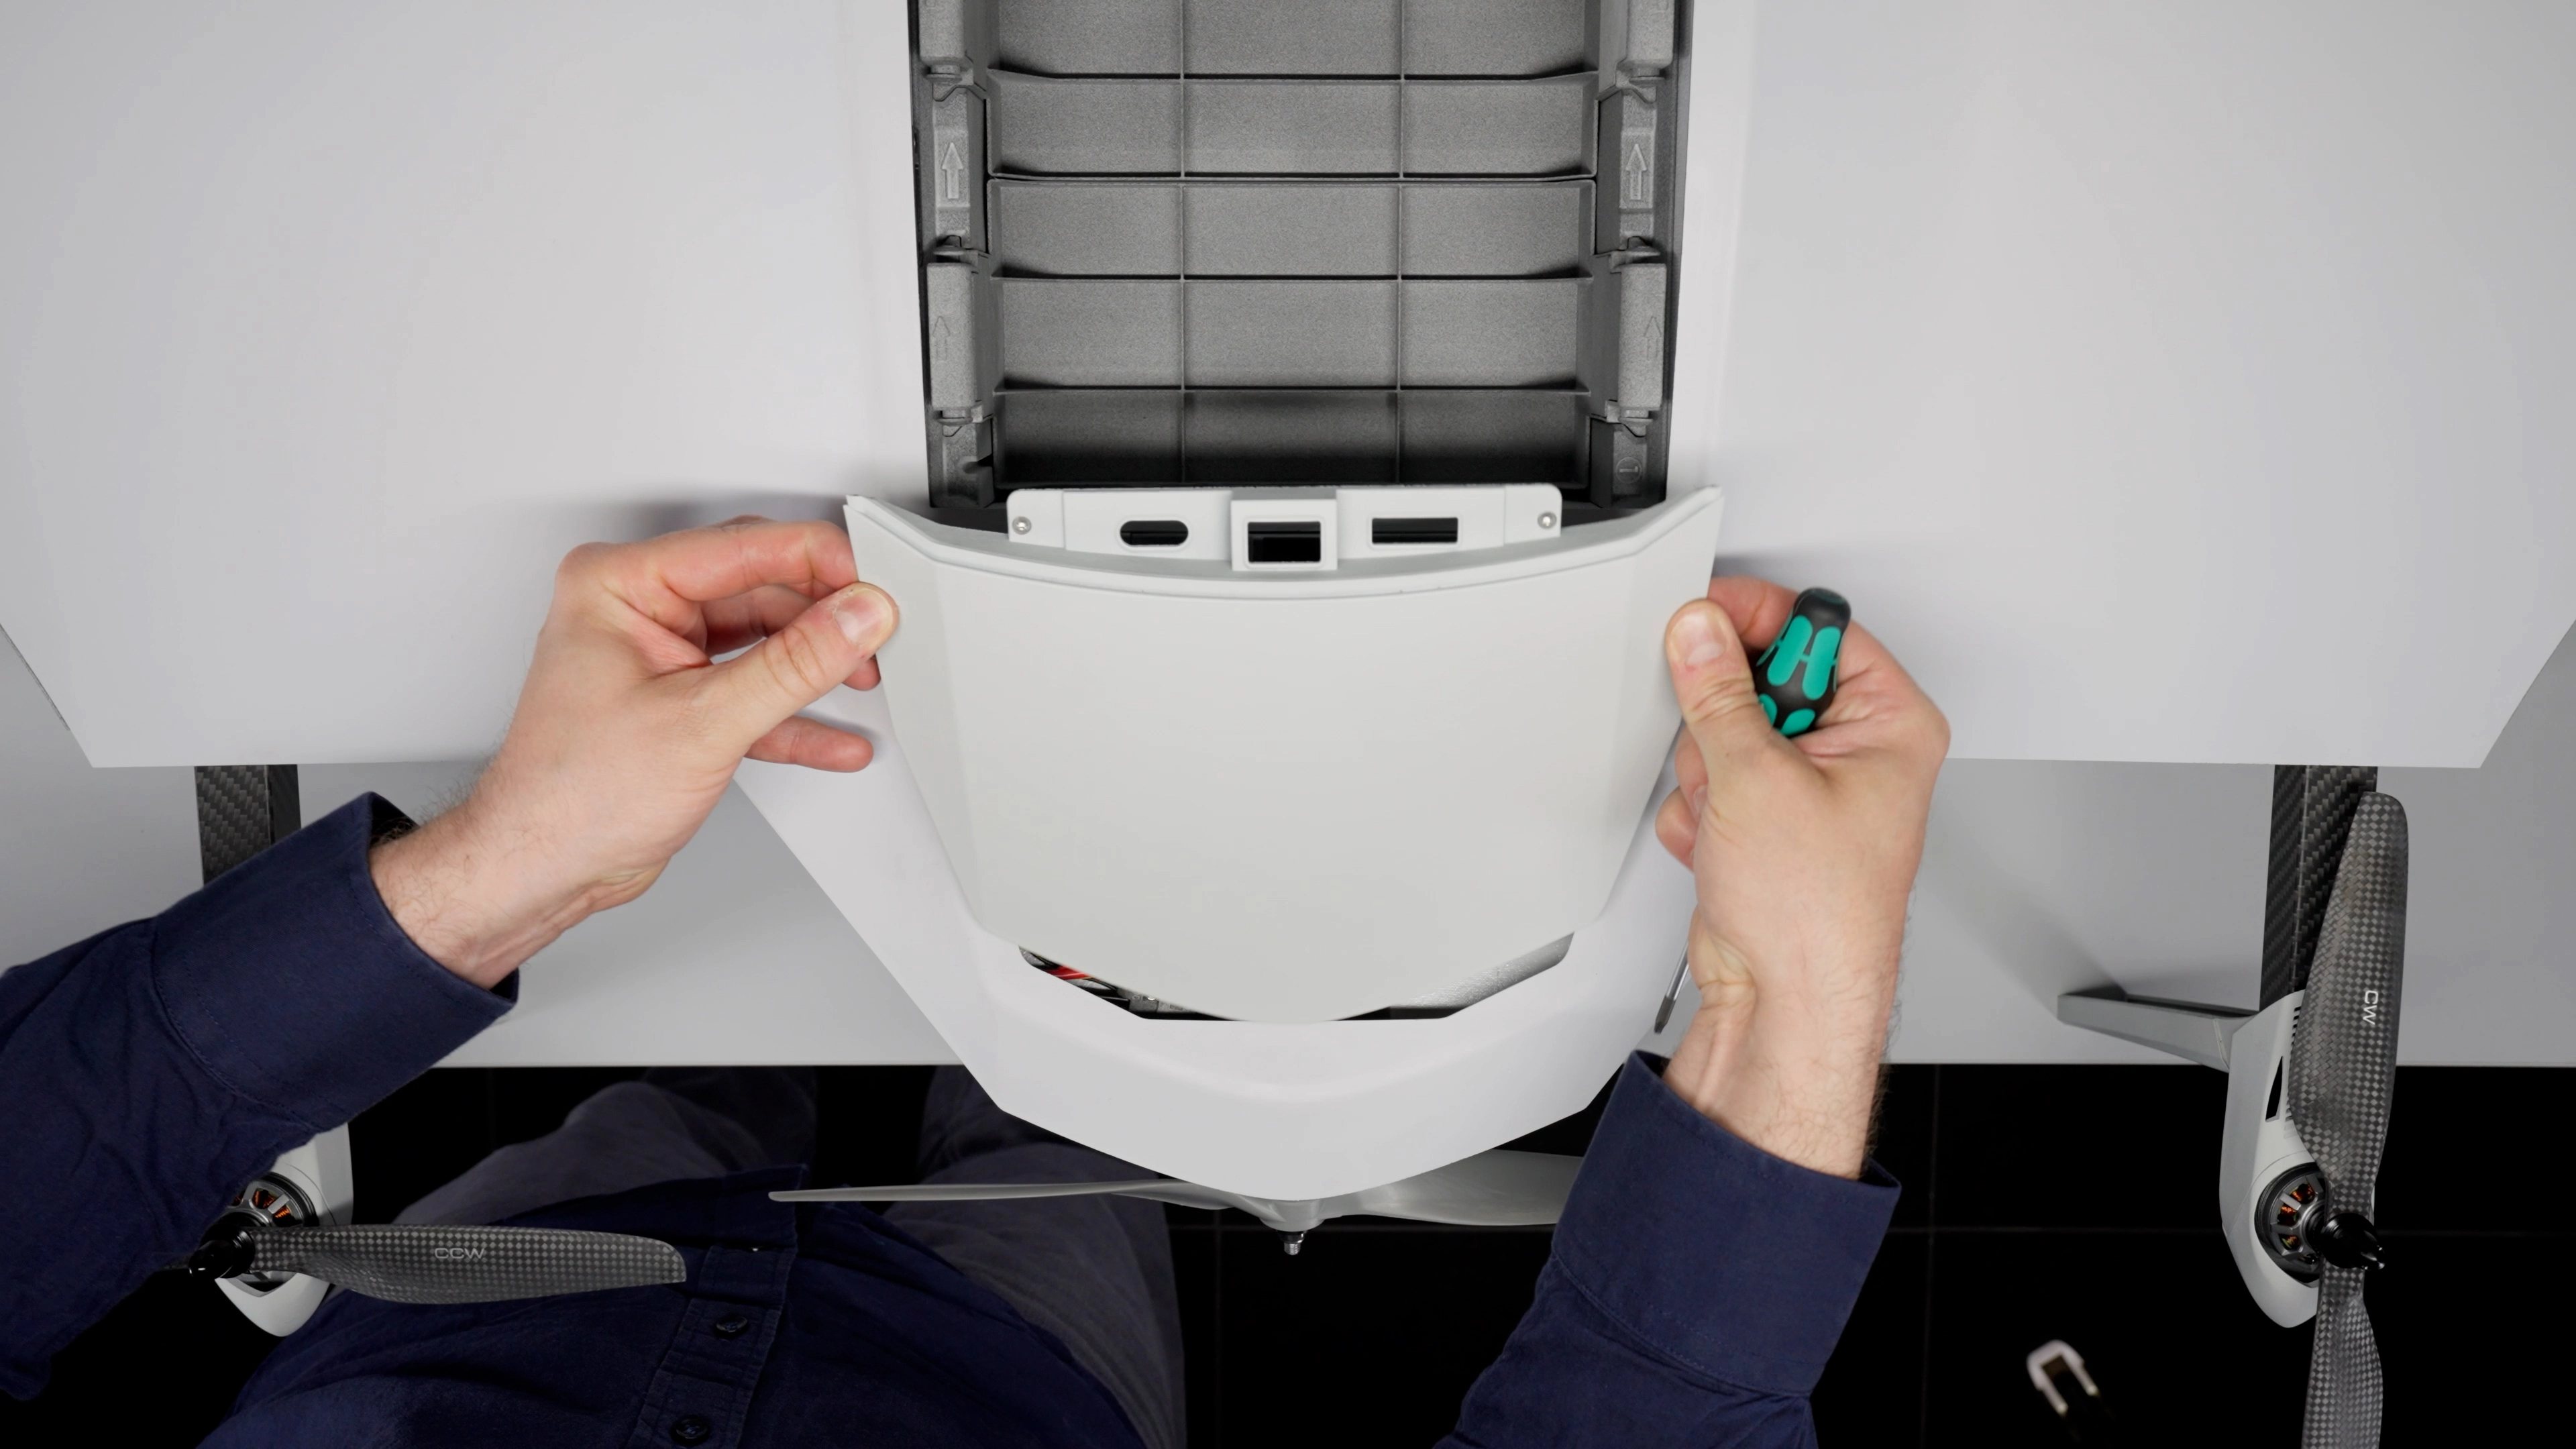
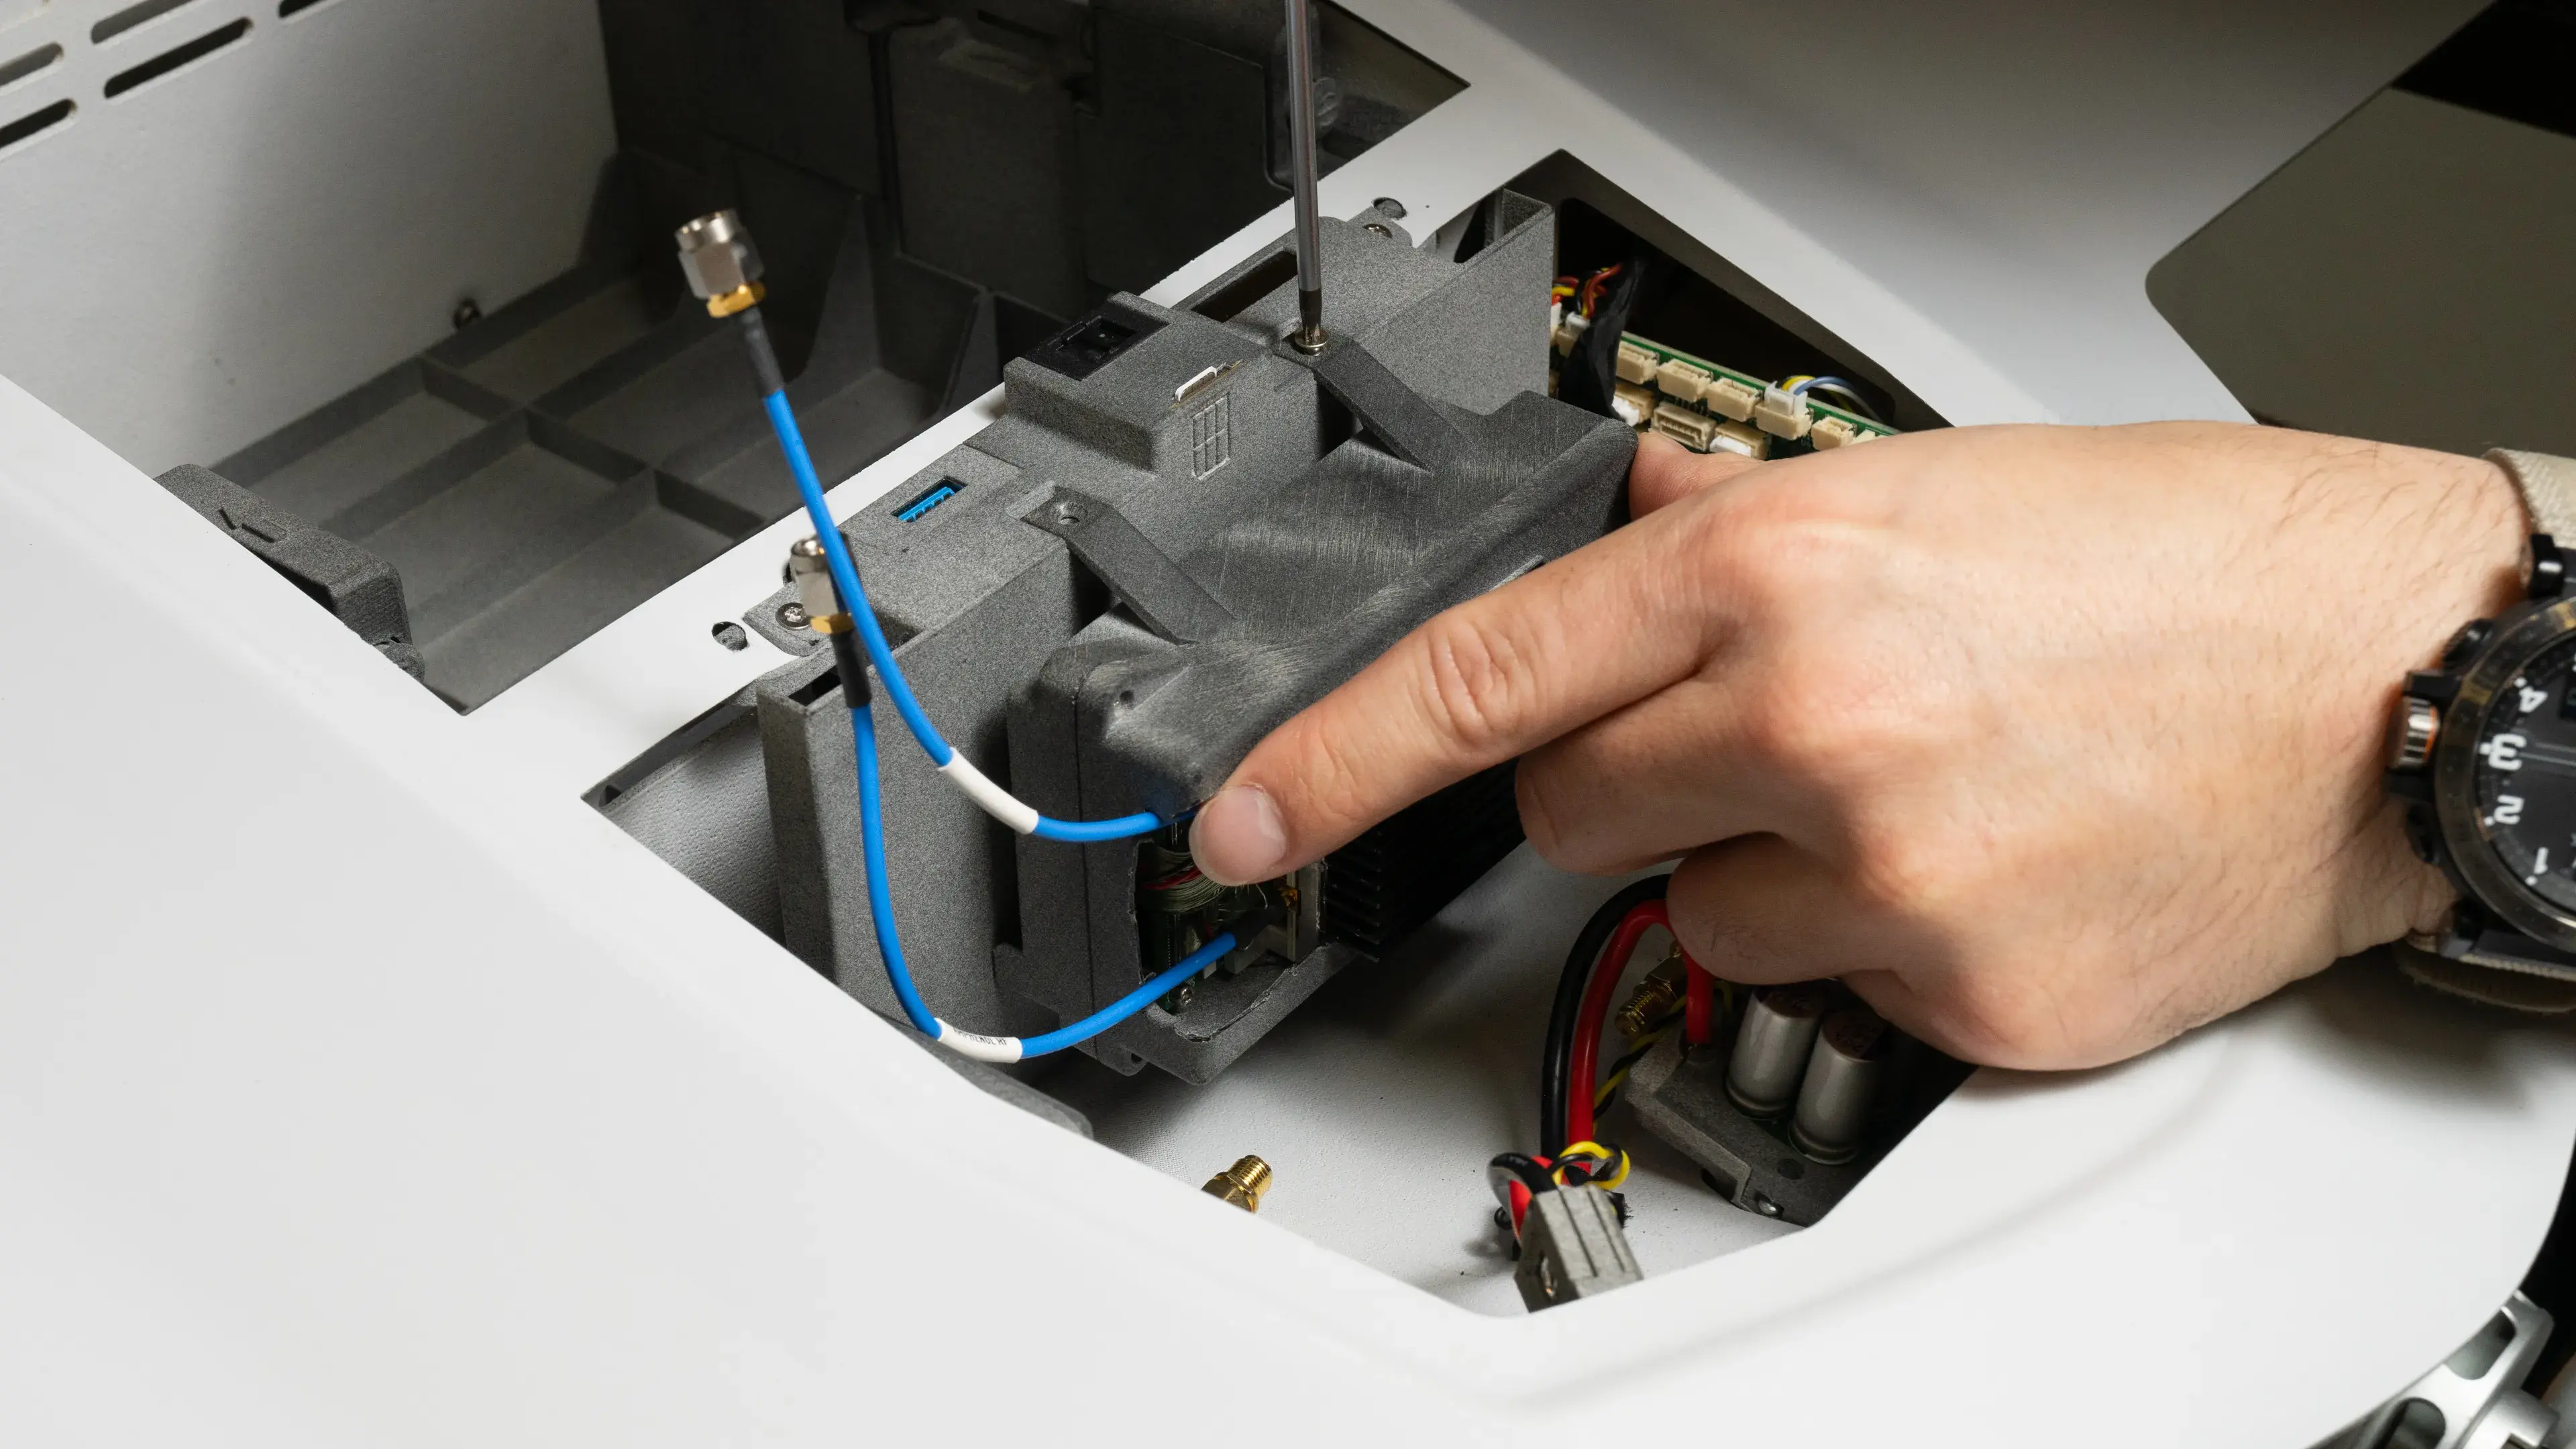
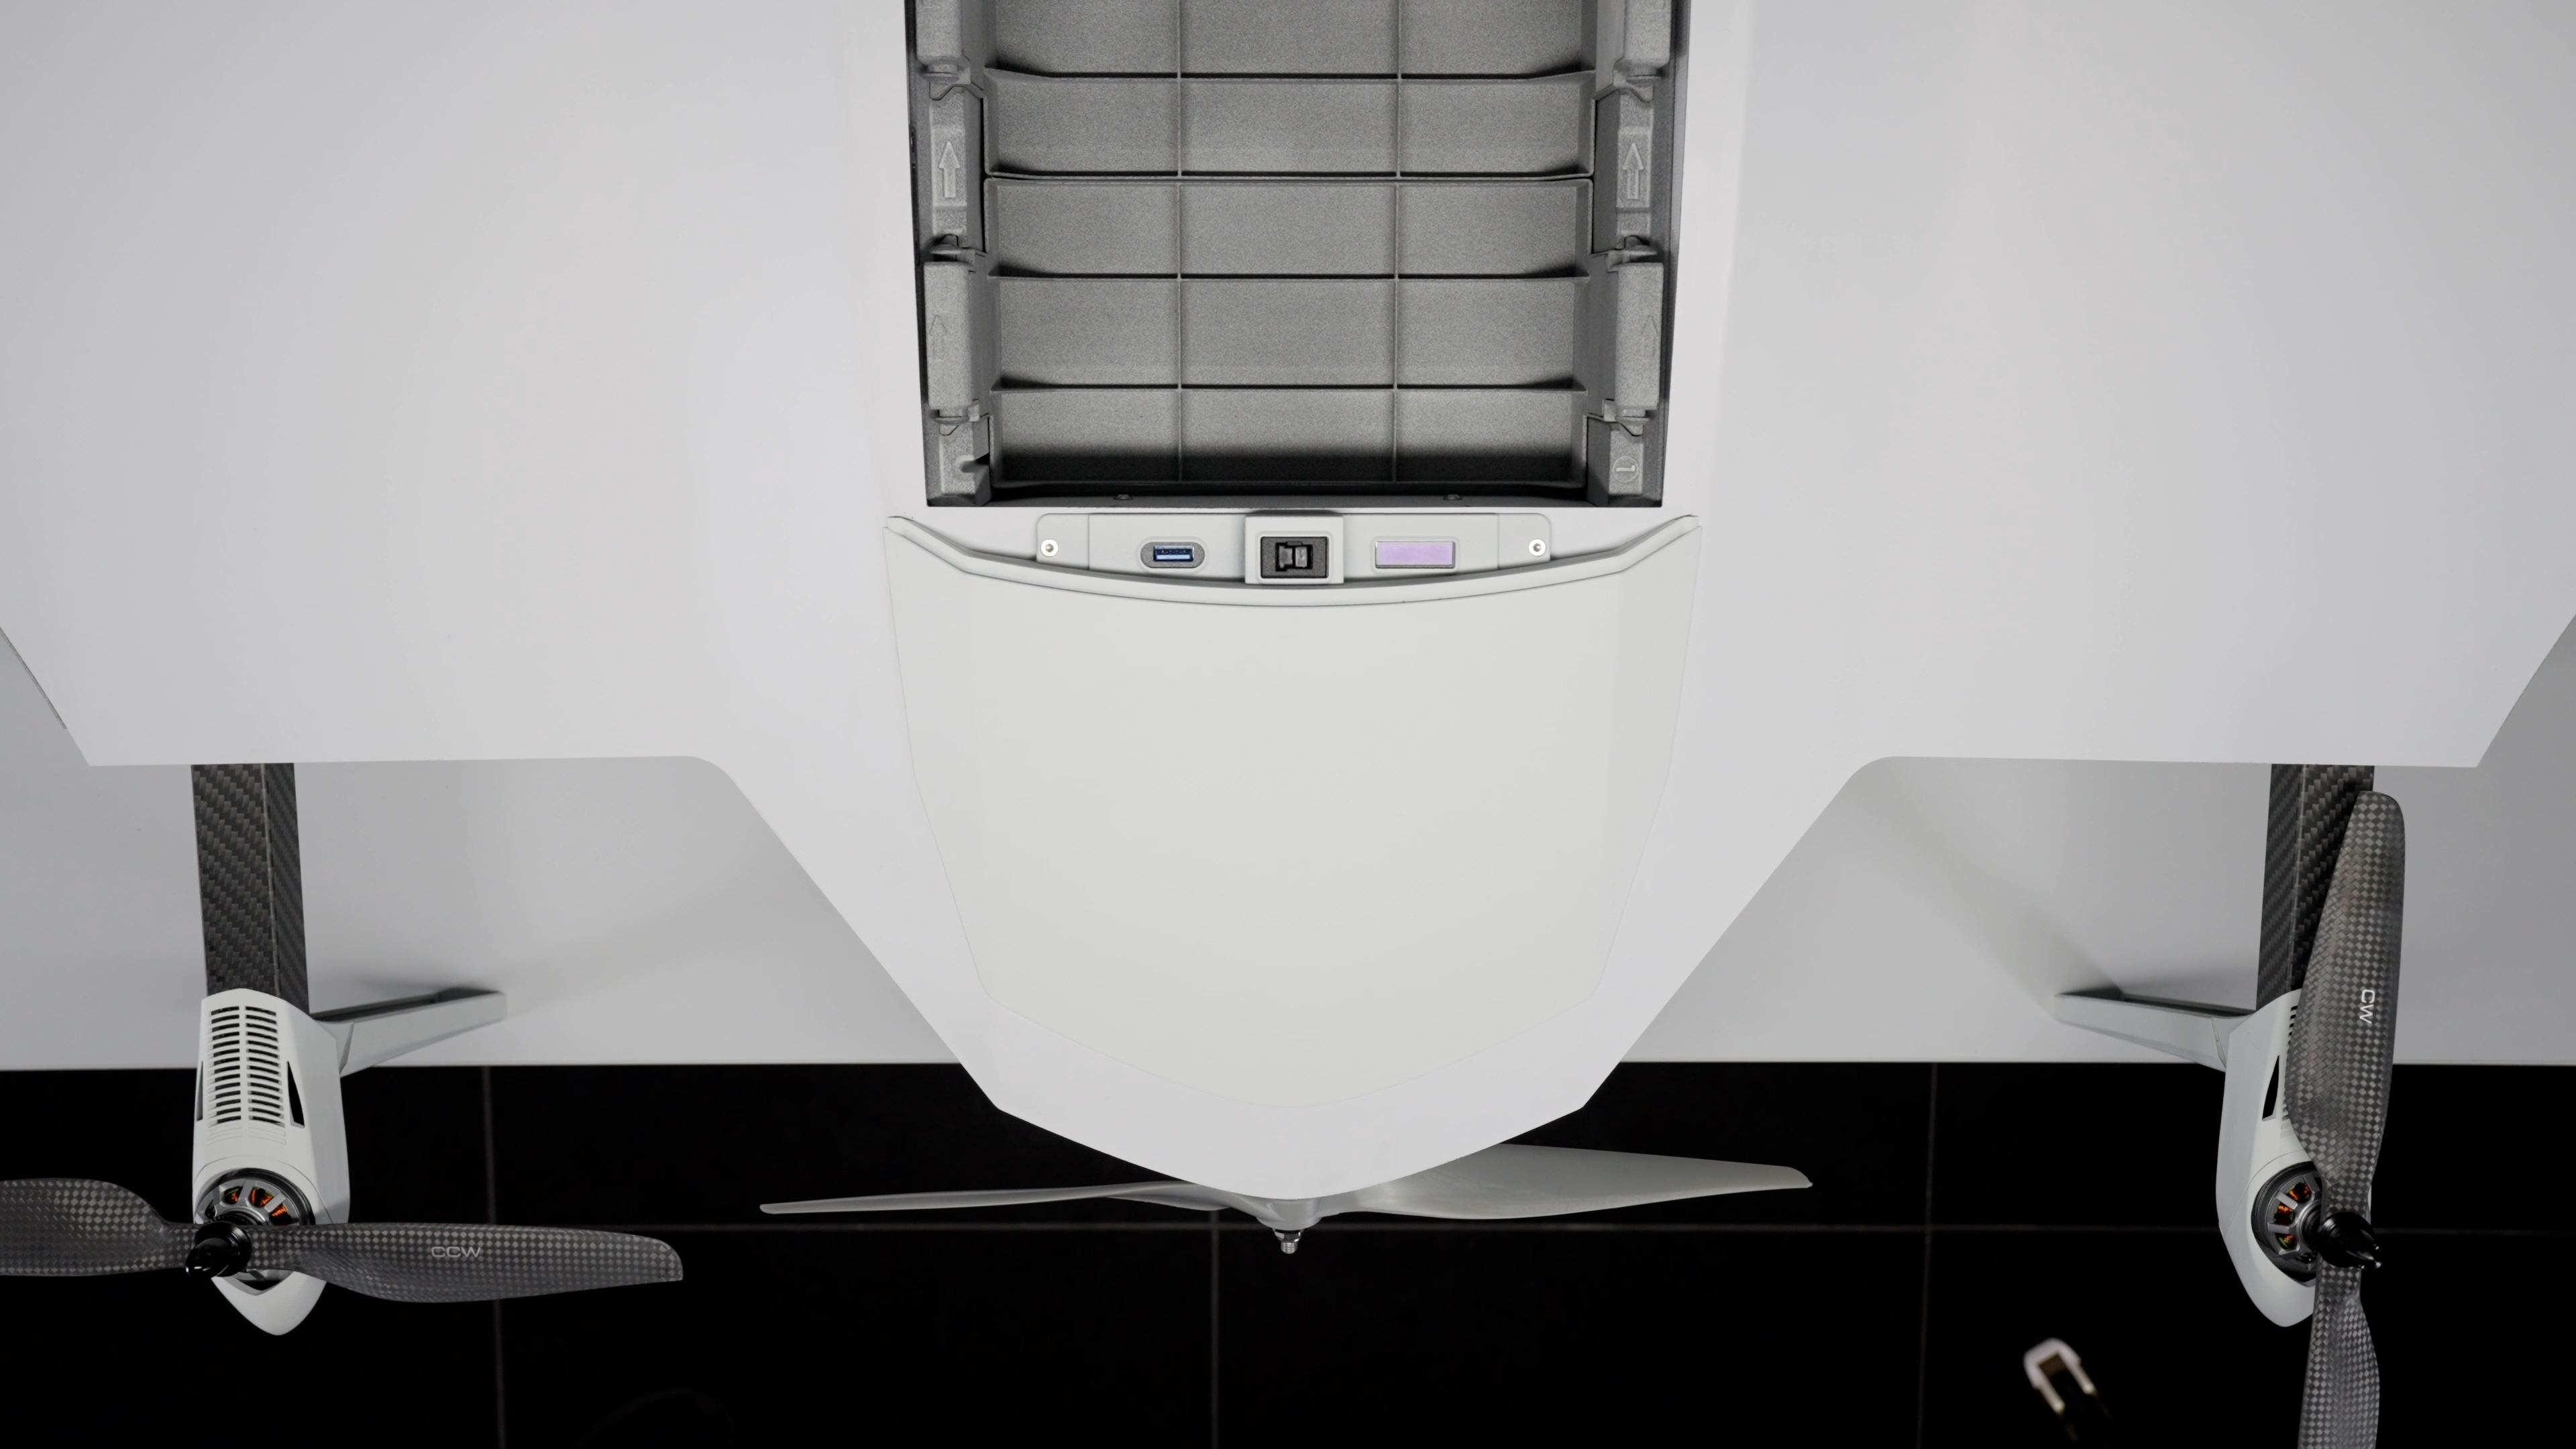
1. Remove the two top screws of the avionics bay hatch.
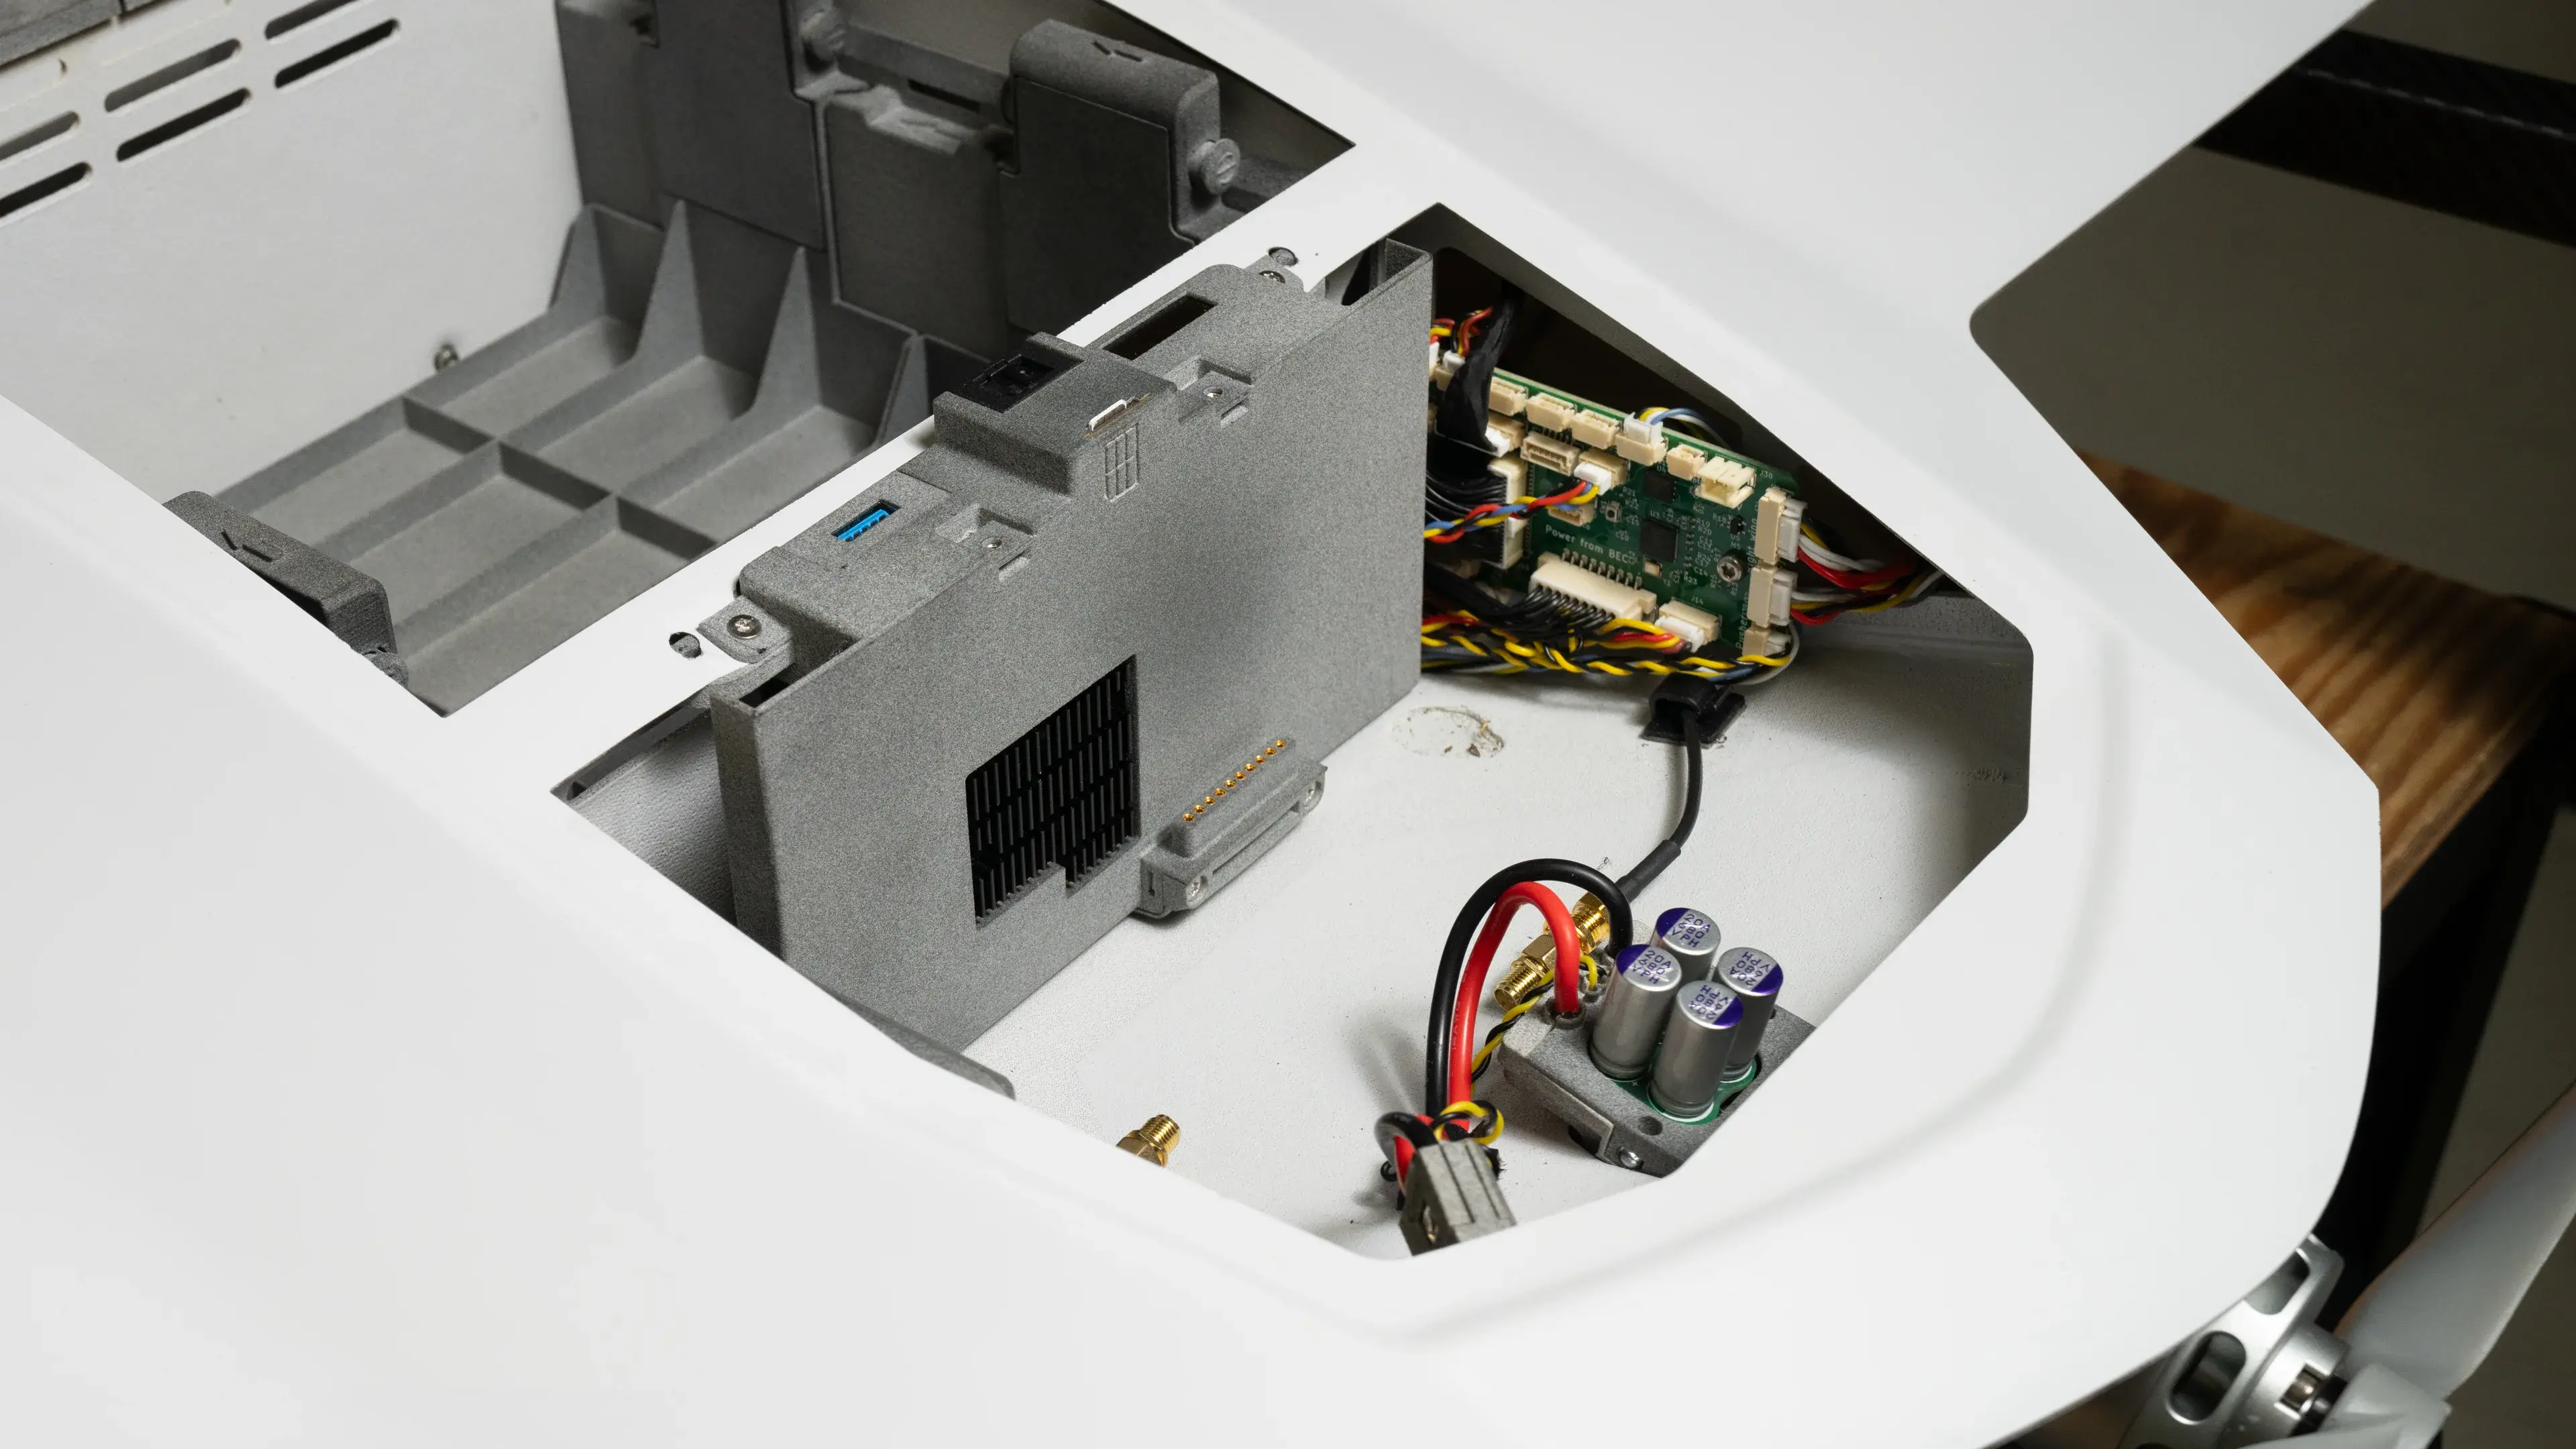
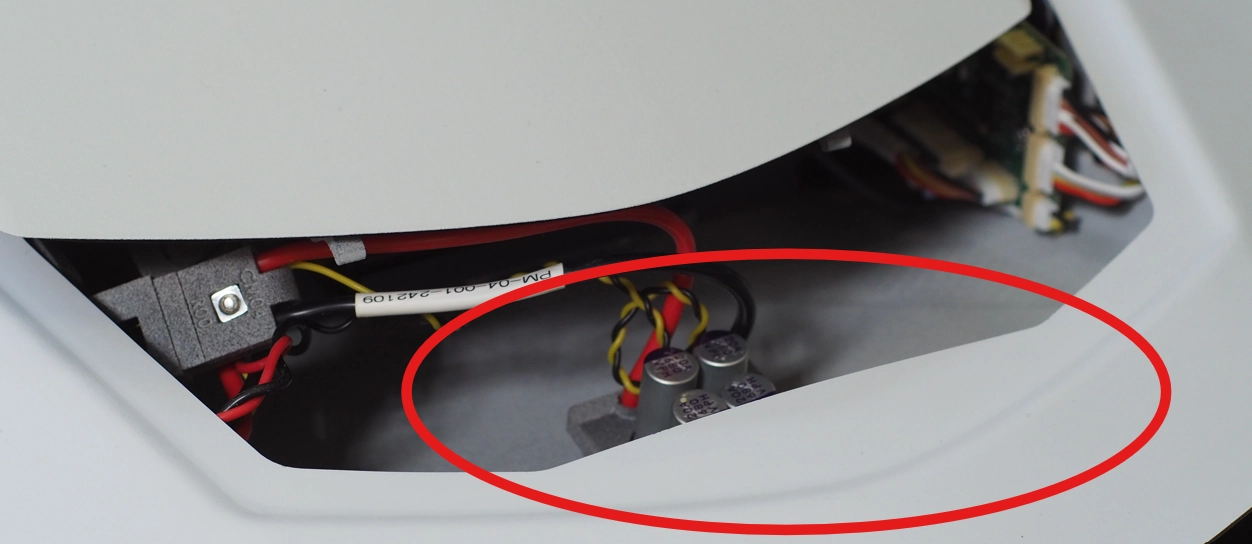
2. Slightly lift the avionics bay and pull it forward.
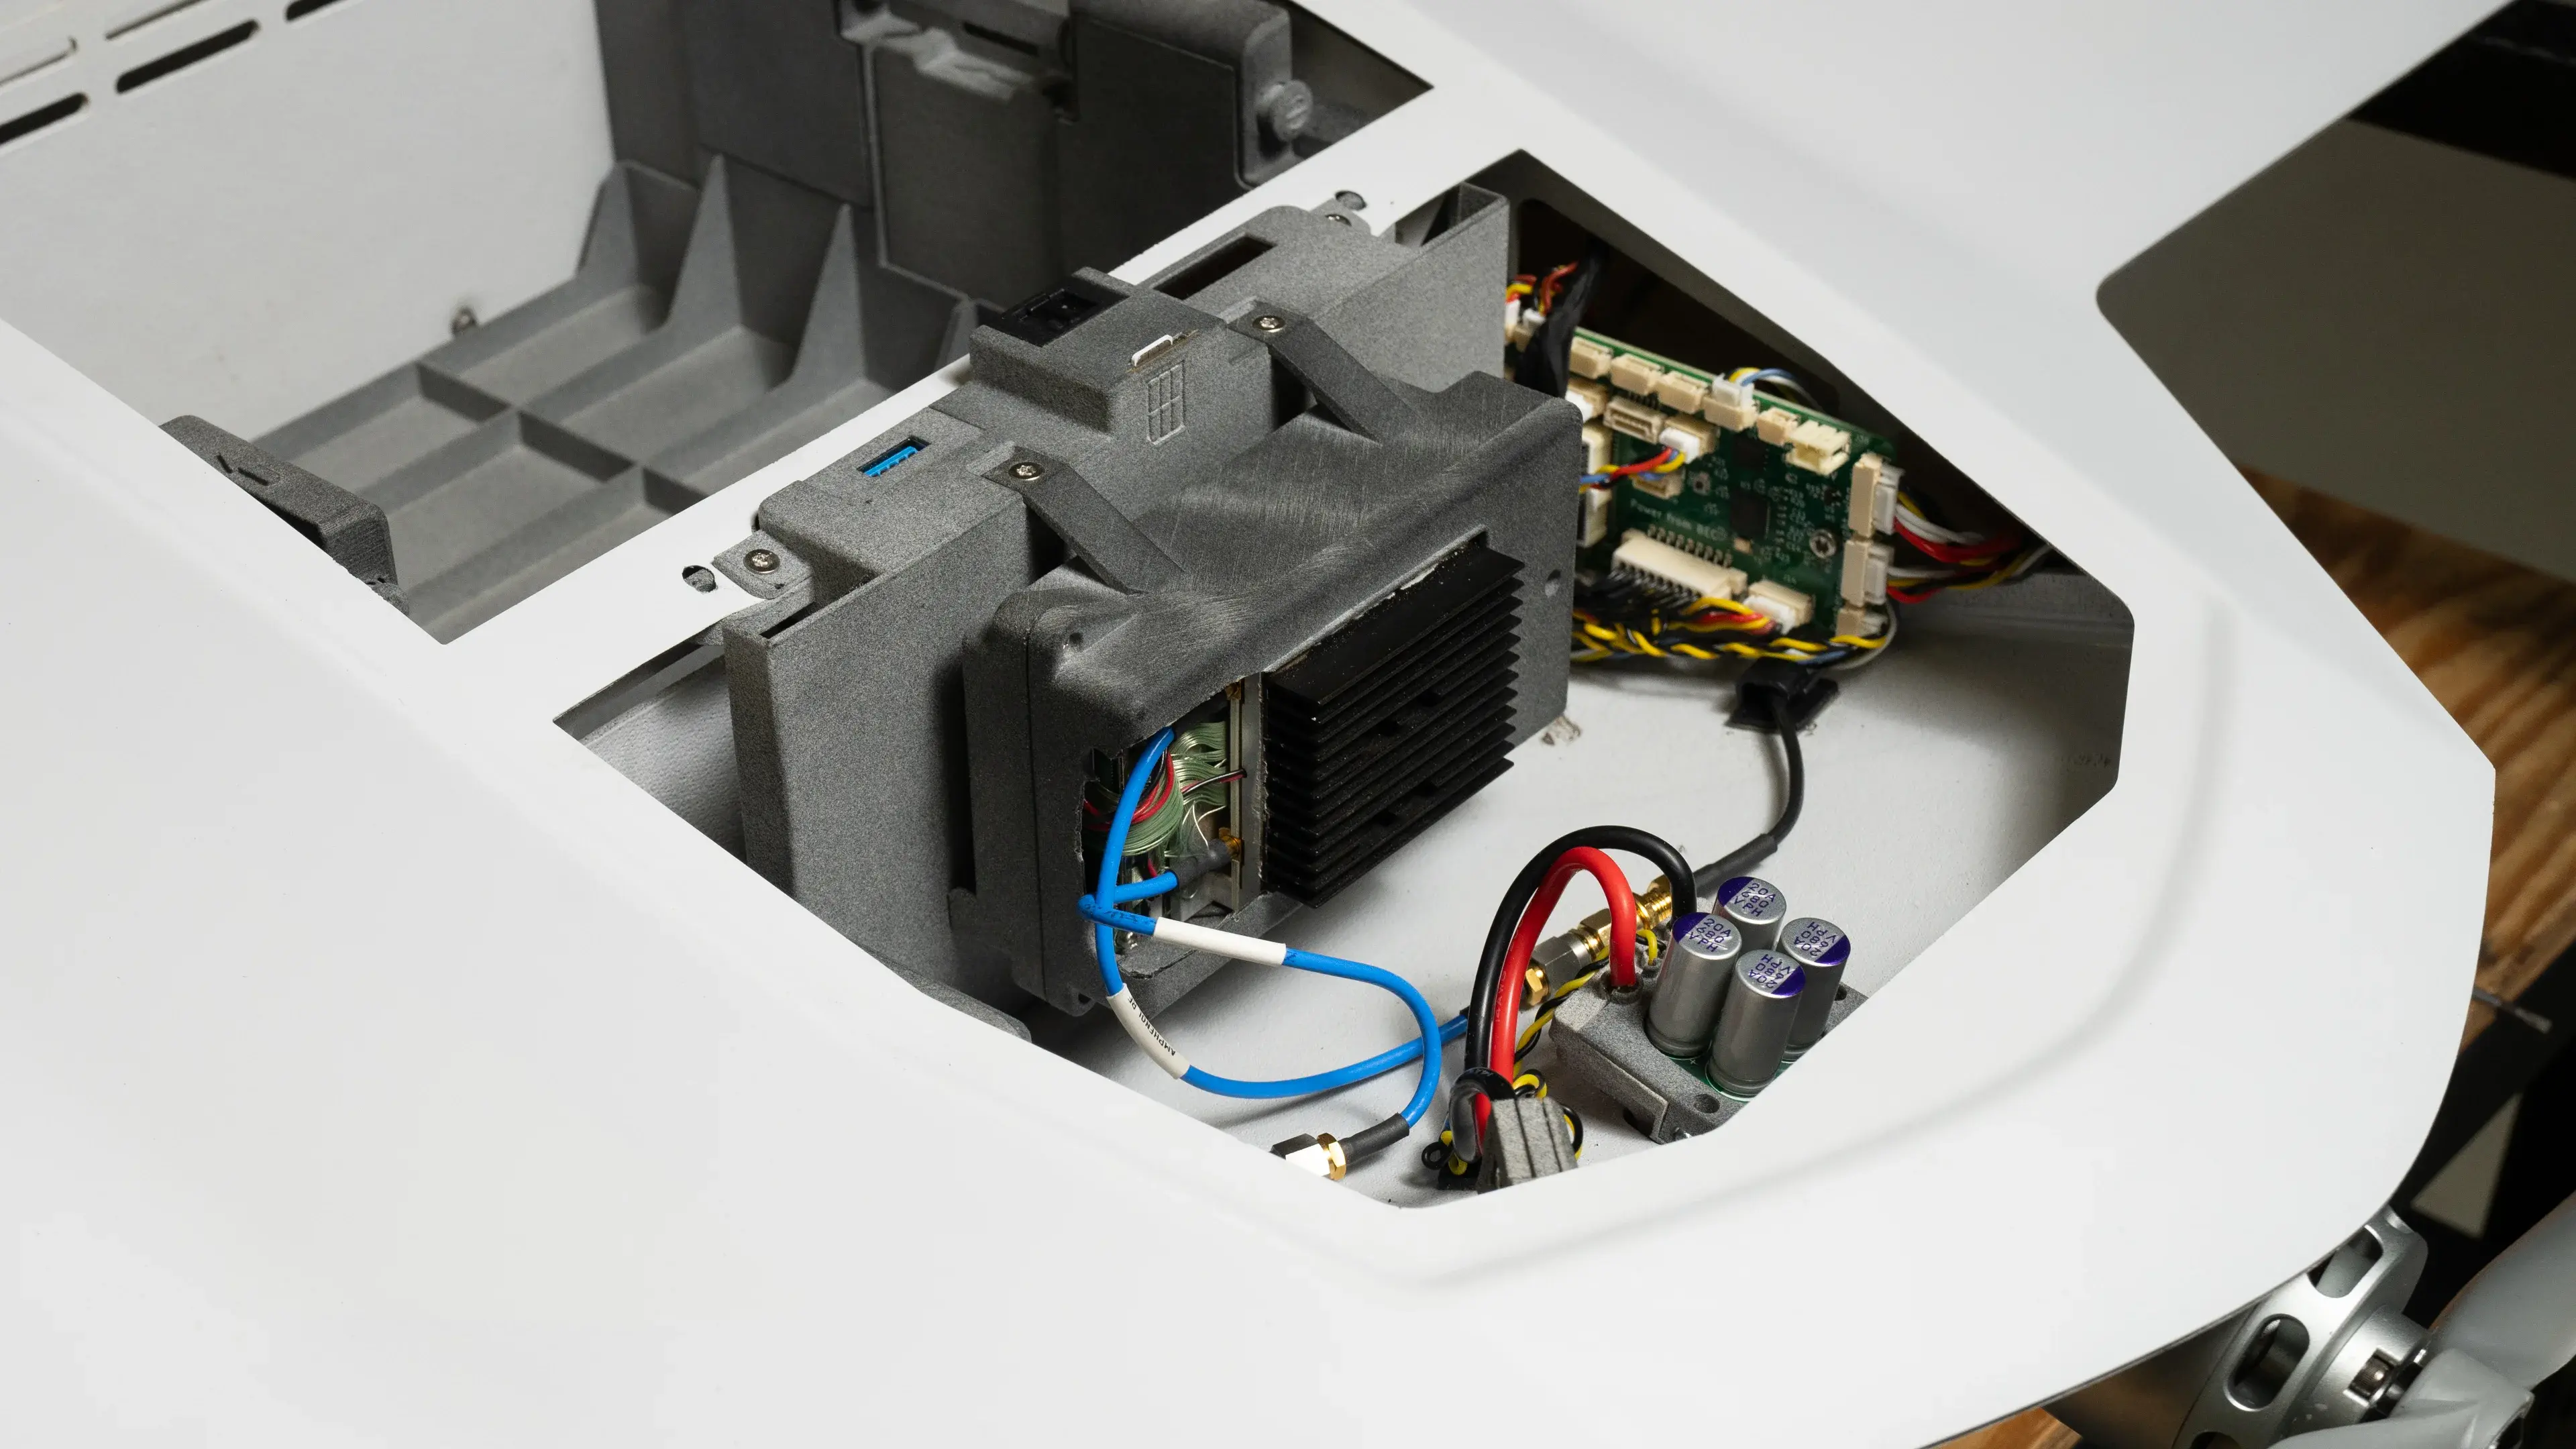
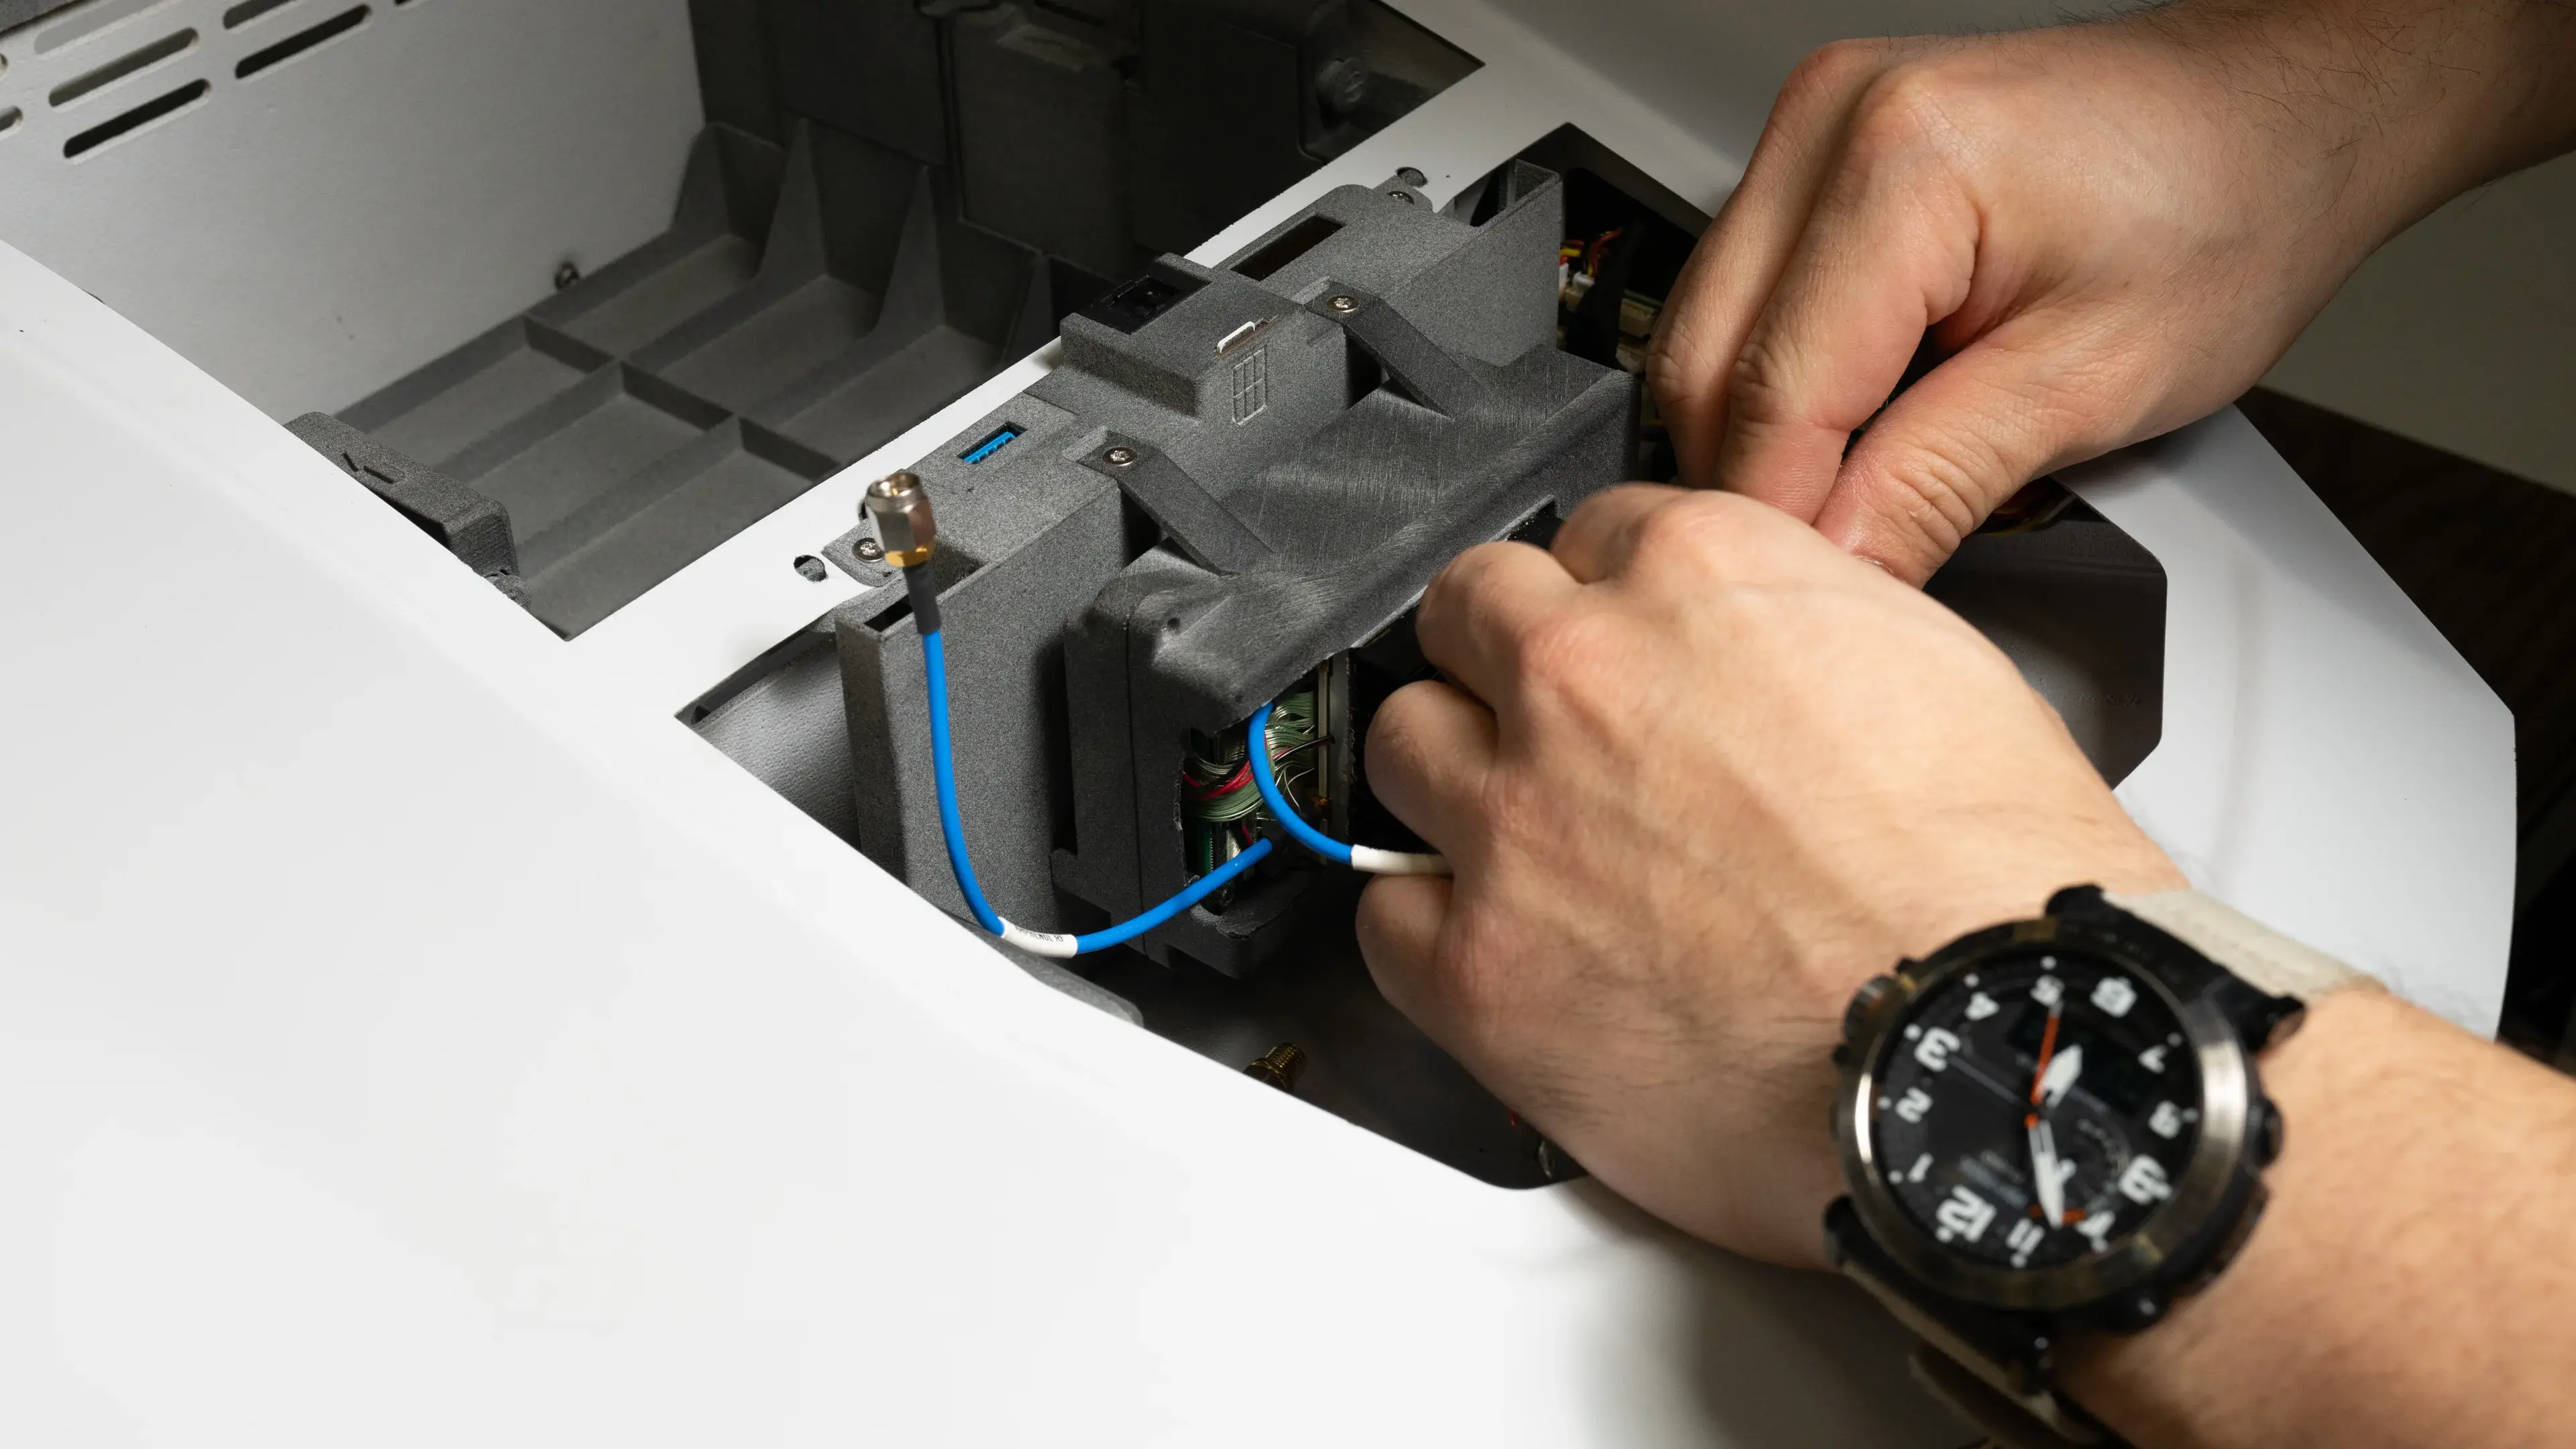
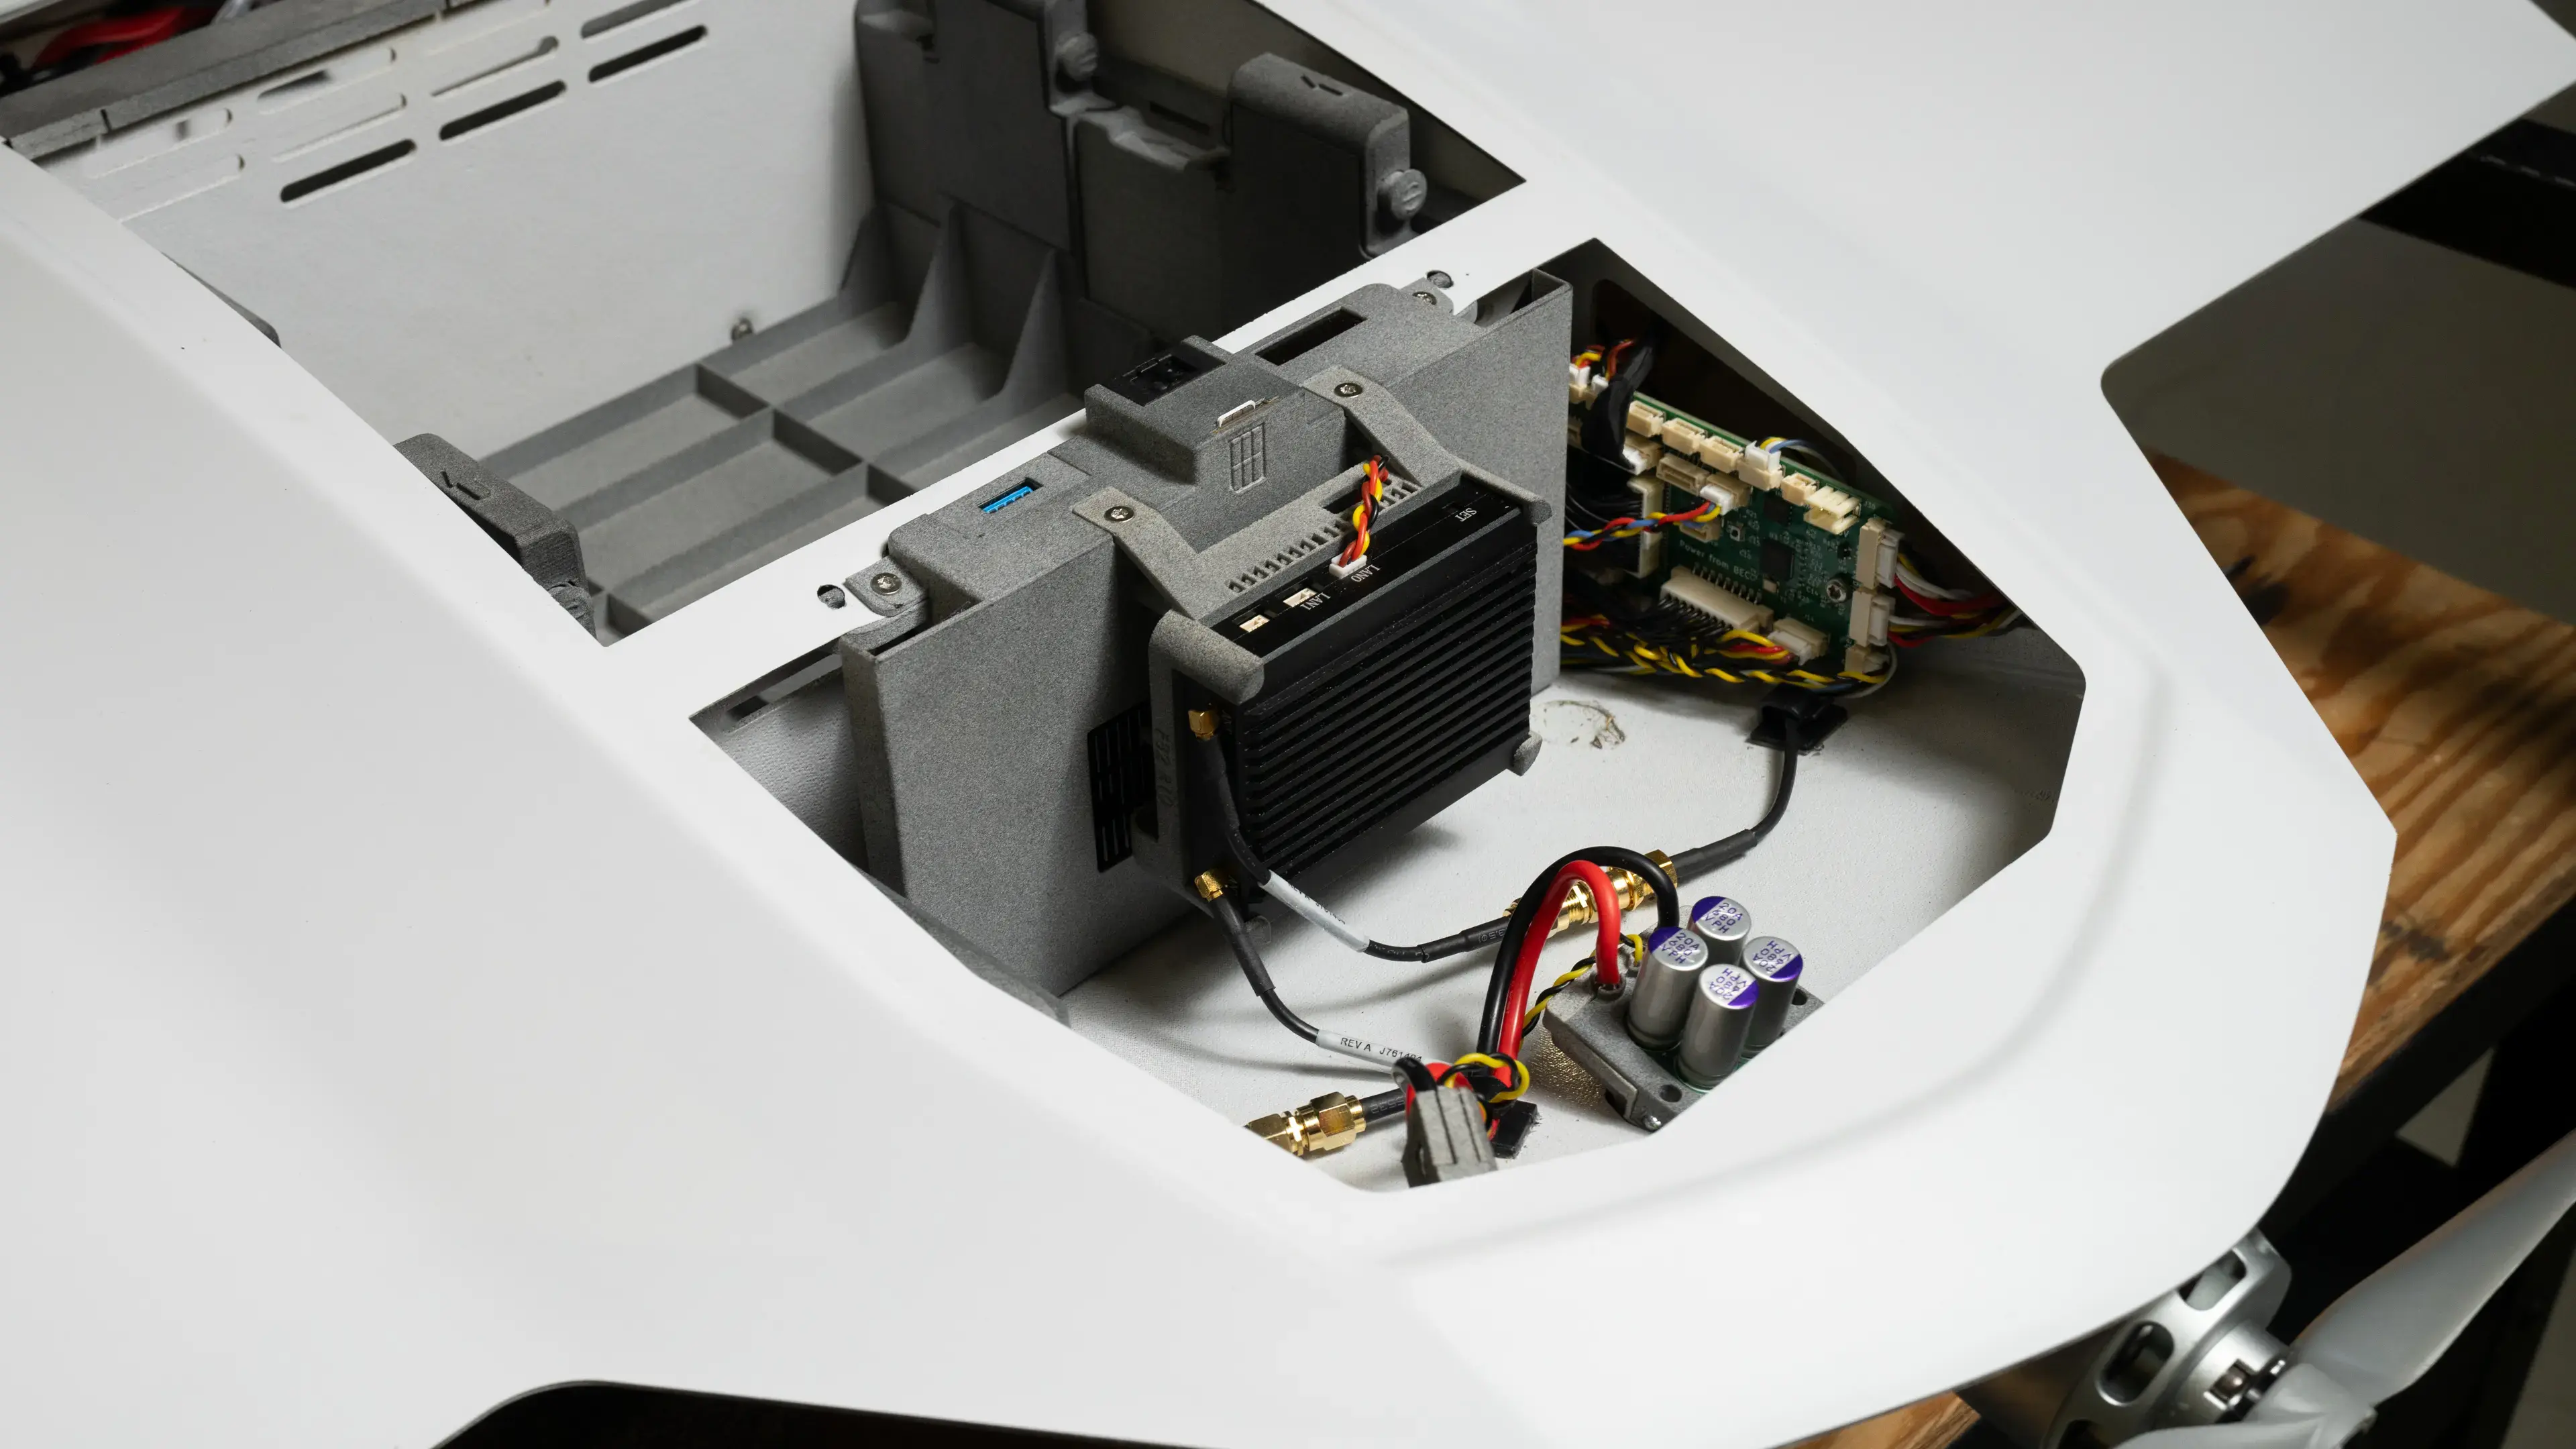
3. The air unit is installed at the back of the **Flight Management Unit (FMU)**. First, detach the two SMA antenna cables by unscrewing the SMA plugs."
4. Loosen the two screws attaching the air unit to the FMU.
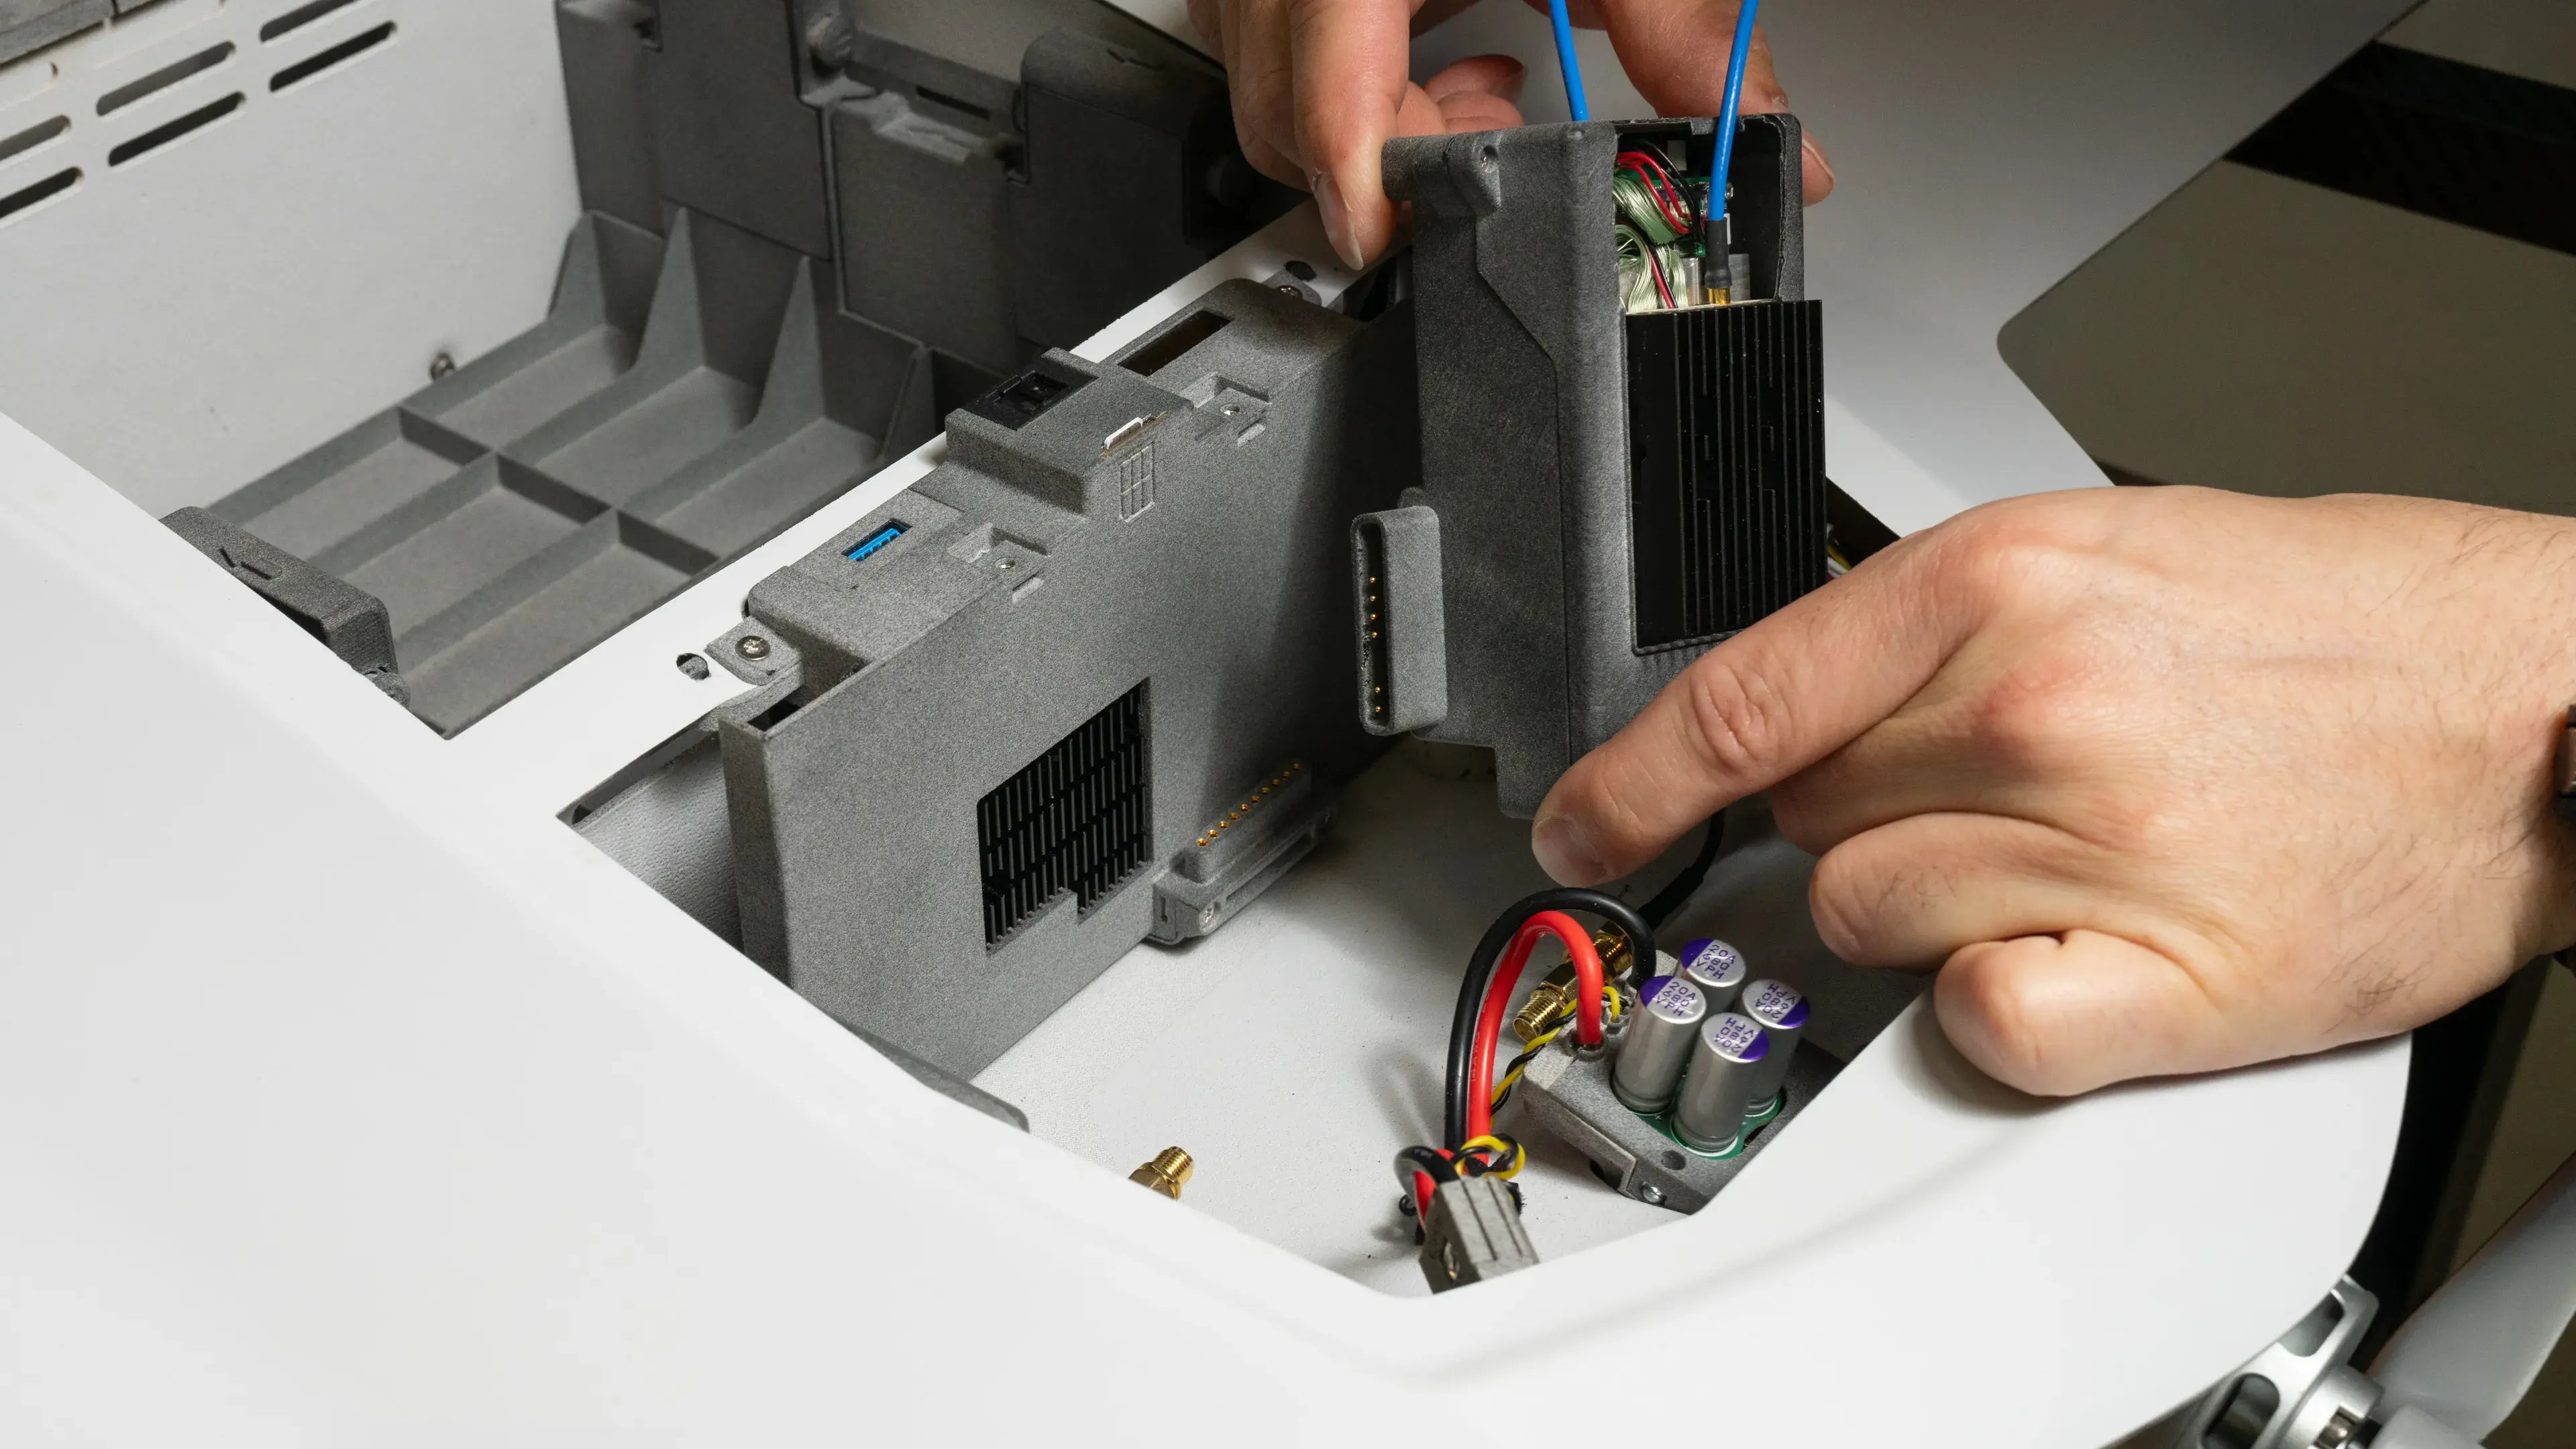
5. Detach the air unit from the FMU by pulling it **upwards**. At the bottom of the air unit is a connector that fits into the corresponding connector on the FMU.
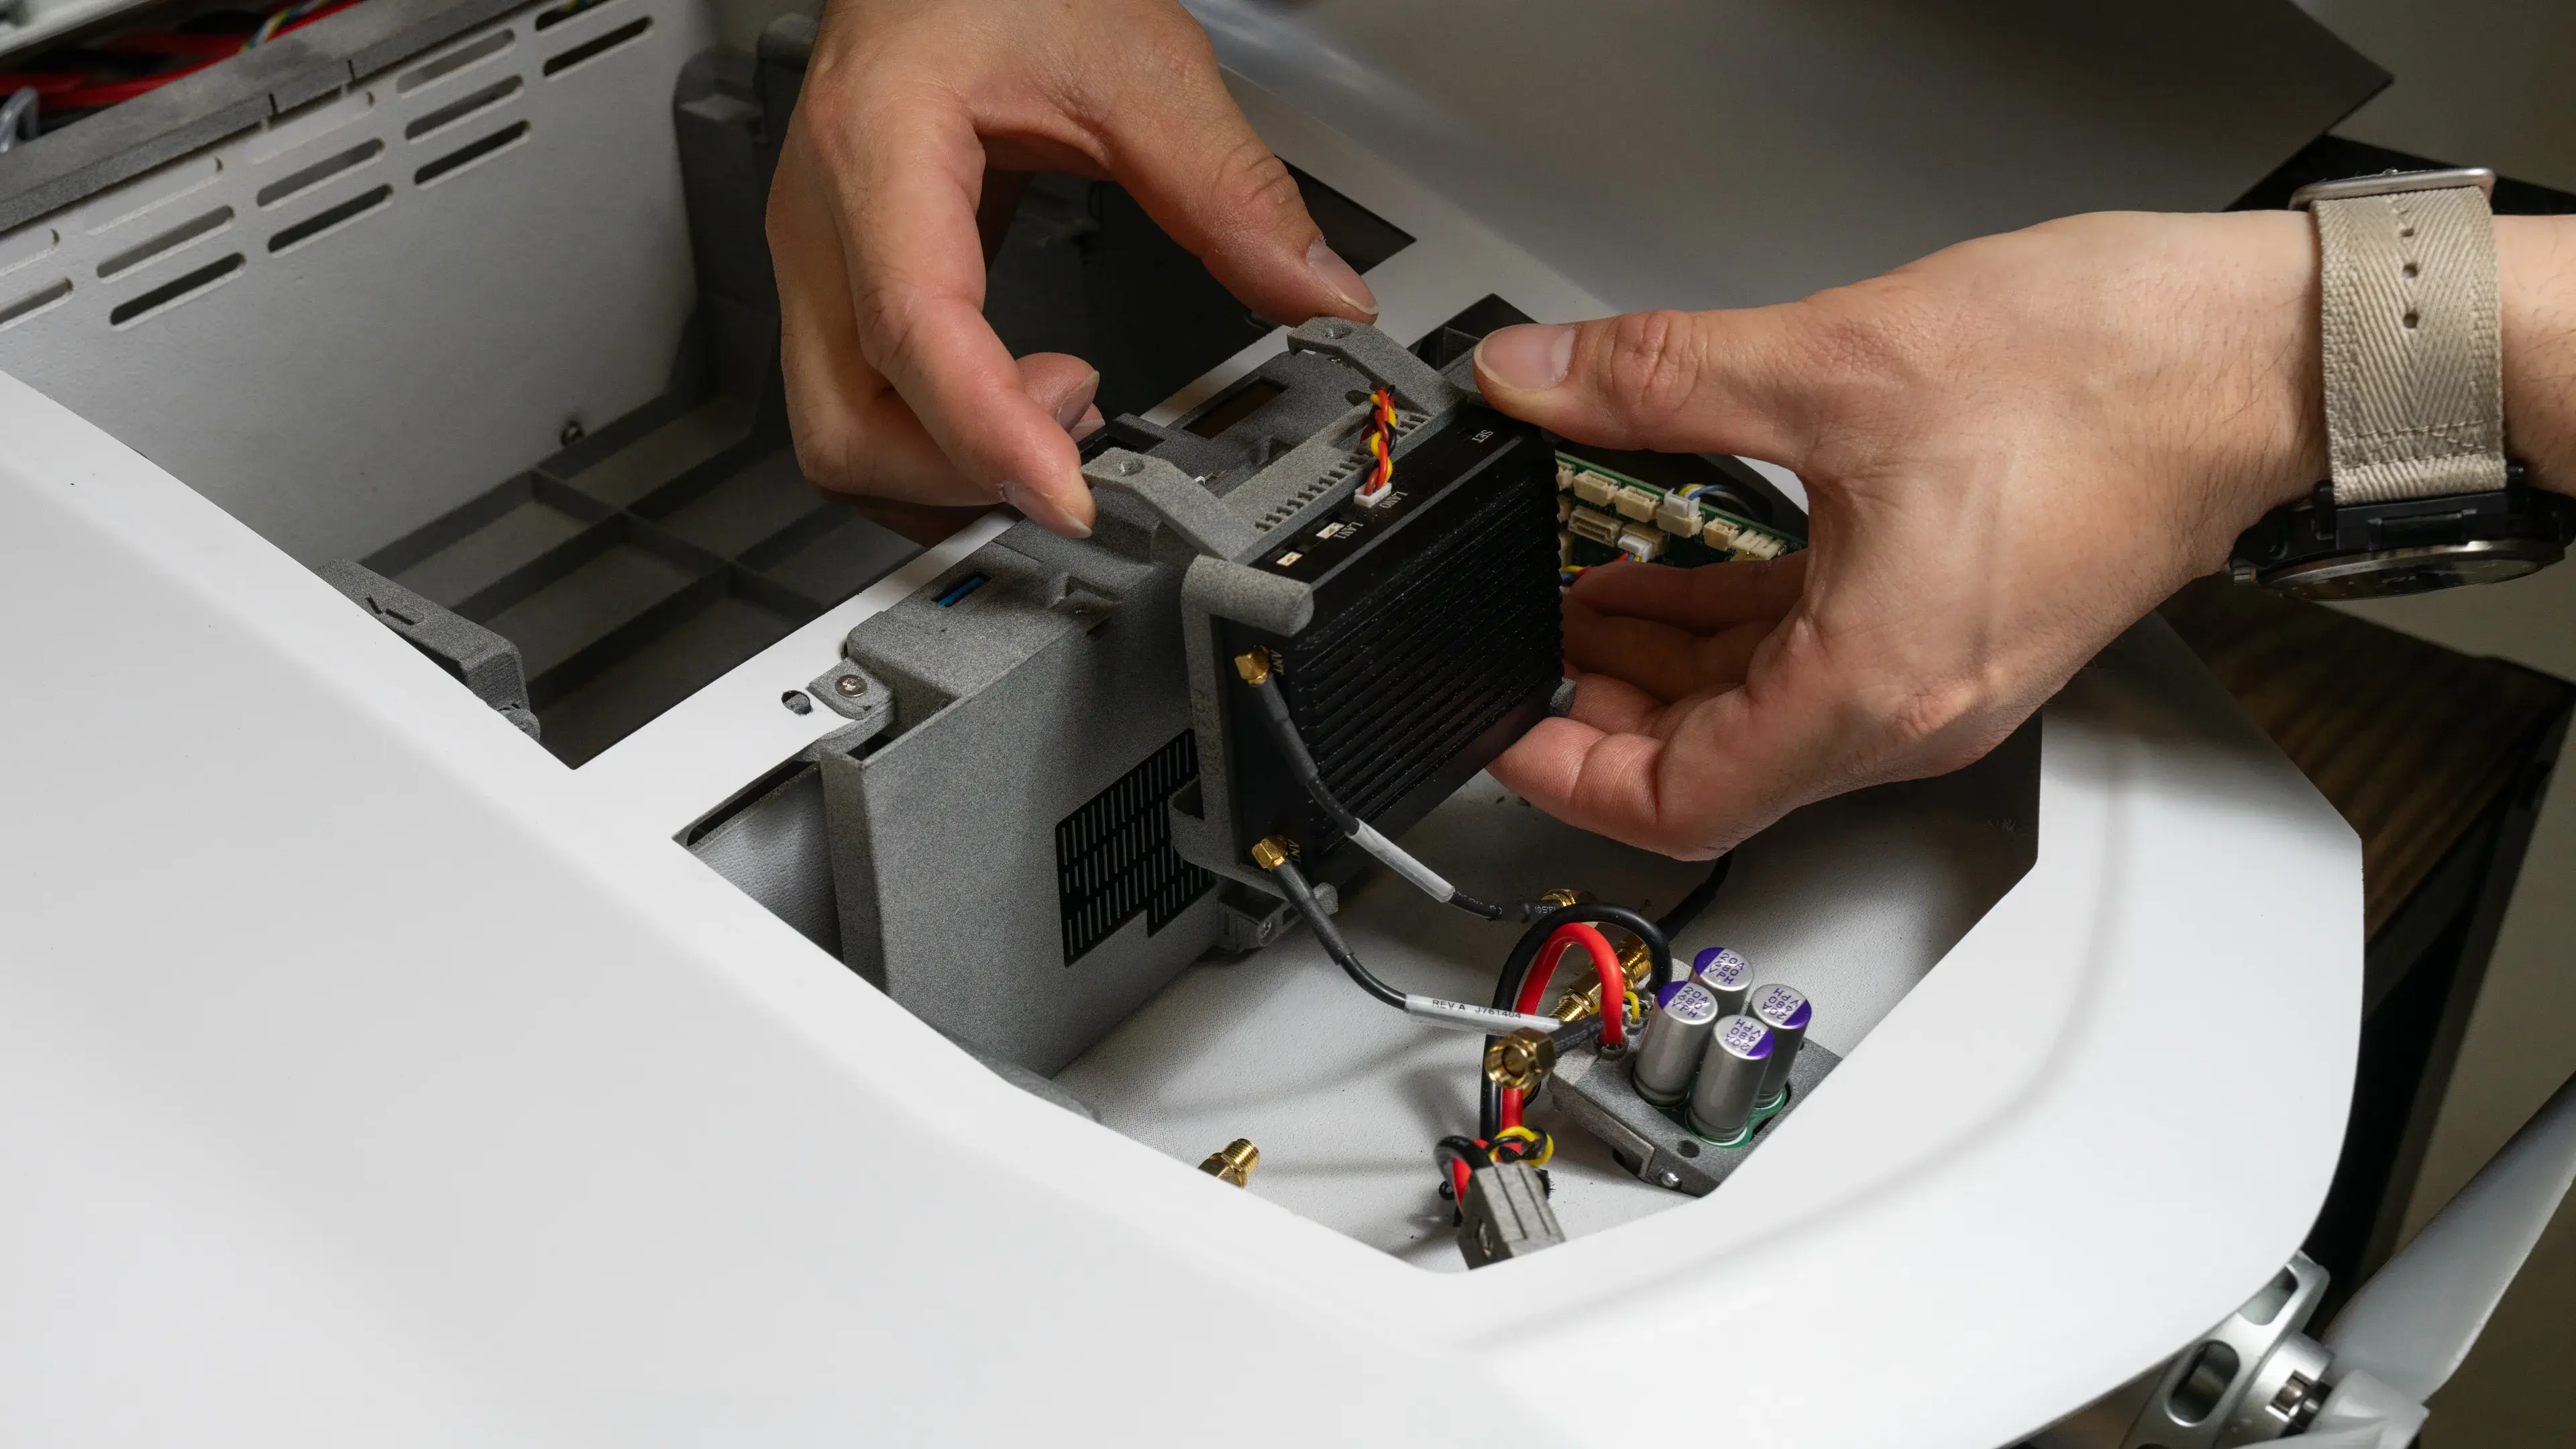
6. Install the new air unit by following the steps above in reverse order. Connect the new air unit to the FMU by sliding it downwards onto the FMU. Reconnect the two SMA antenna connectors.
7. Install the two screws on top of the air unit and apply **threadlocker** to the tip of each screw.
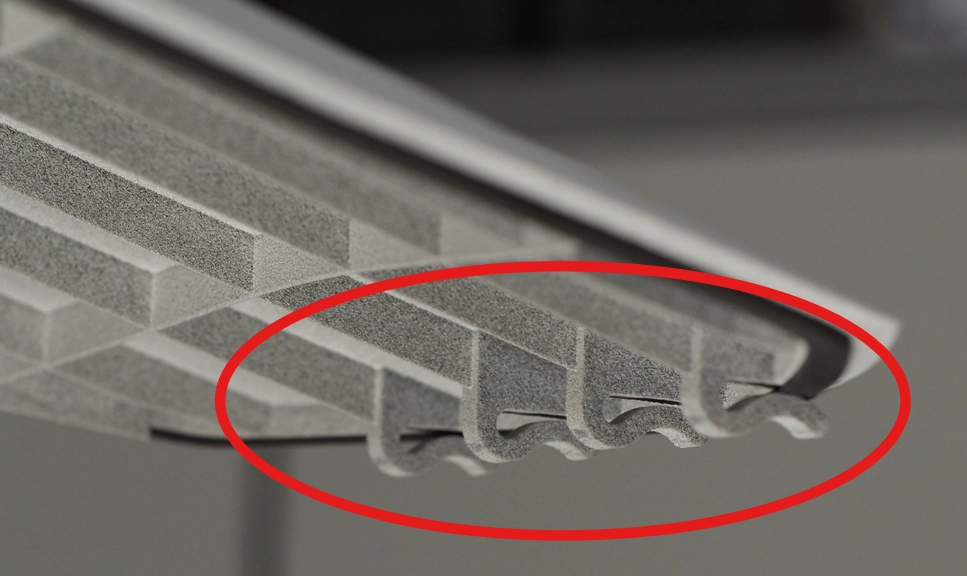
8. To install the avionics bay hatch, catch and align its clamps with the rear edge of the avionics bay. Follow step 2 in reverse order to achieve this.
9. Close the avionics bay by tightening the two top screws. Please use threadlocker for these screws.
The new radio air unit is now installed. Double-check that all screws are snug but not overtightened to avoid any damage.
If you should encounter problems during the installation process please contact **** for further assistance.
---
# Agent Instructions
This documentation is published with GitBook. GitBook is the documentation platform designed so that both humans and AI agents can read, navigate, and reason over technical content effectively. Learn more at gitbook.com.
## Querying This Documentation
If you need additional information that is not directly available in this page, you can query the documentation by asking a question.
Perform an HTTP GET request on the following URL with the `ask` and `goal` query parameters:
```
GET https://docs.deltaquad.com/gov/setup/air-unit-radio-swap.md?ask=&goal=
```
`ask` is the immediate question: it should be specific, self-contained, and written in natural language.
`goal` is what the user is ultimately trying to achieve, the reason they need the answer. Sharing it helps GitBook give you a better, more relevant answer. A goal is most helpful when it describes the outcome the user wants rather than restating the question. For example, with `ask=how do I create an API token`, a goal like `automate deployments from our CI pipeline` lets GitBook tailor the answer to that use case.
The response will contain a direct answer to the question and relevant excerpts and sources from the documentation.
Use this mechanism when the answer is not explicitly present in the current page, you need clarification or additional context, or you want to retrieve related documentation sections.